
-
Once you have download the latest Cloud Sync installer from Cordel Connect, navigate to your downloads folder.
Haven't downloaded the Cloud Sync installer yet? There's more information on how to download the software here.
-
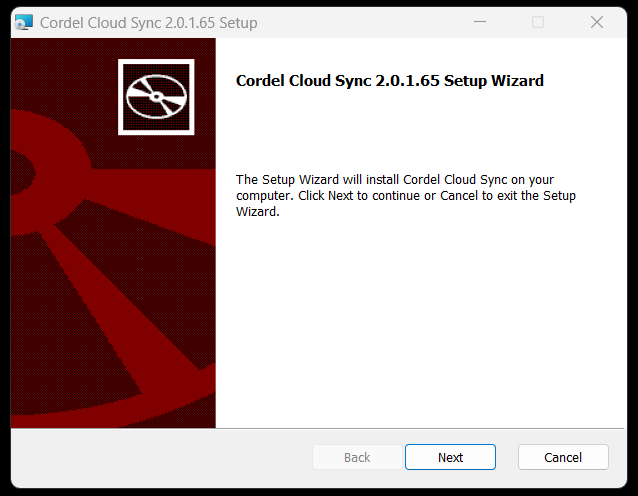
Run (double click) the installer package (Cordel Cloud Sync-*.*.*.msi) to launch the setup wizard.
-
Click Next in the setup wizard to start the installation process.
-
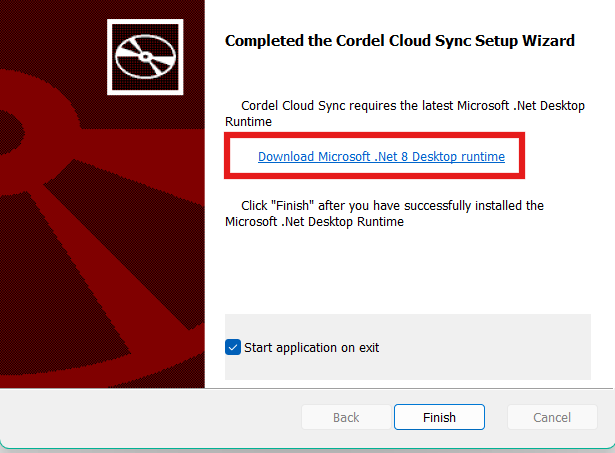
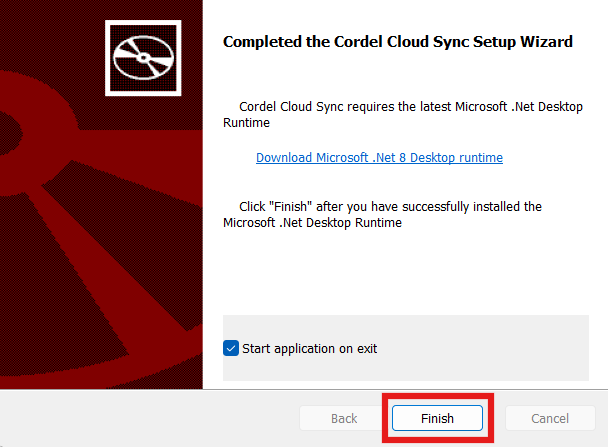
Once all the files have been installed the window below is displayed. The Cordel Cloud Sync software requires the latest Microsoft Windows Desktop Runtime. Click the 'Download Microsoft .NET Desktop runtime' hyperlink to download the most up to date version.
-
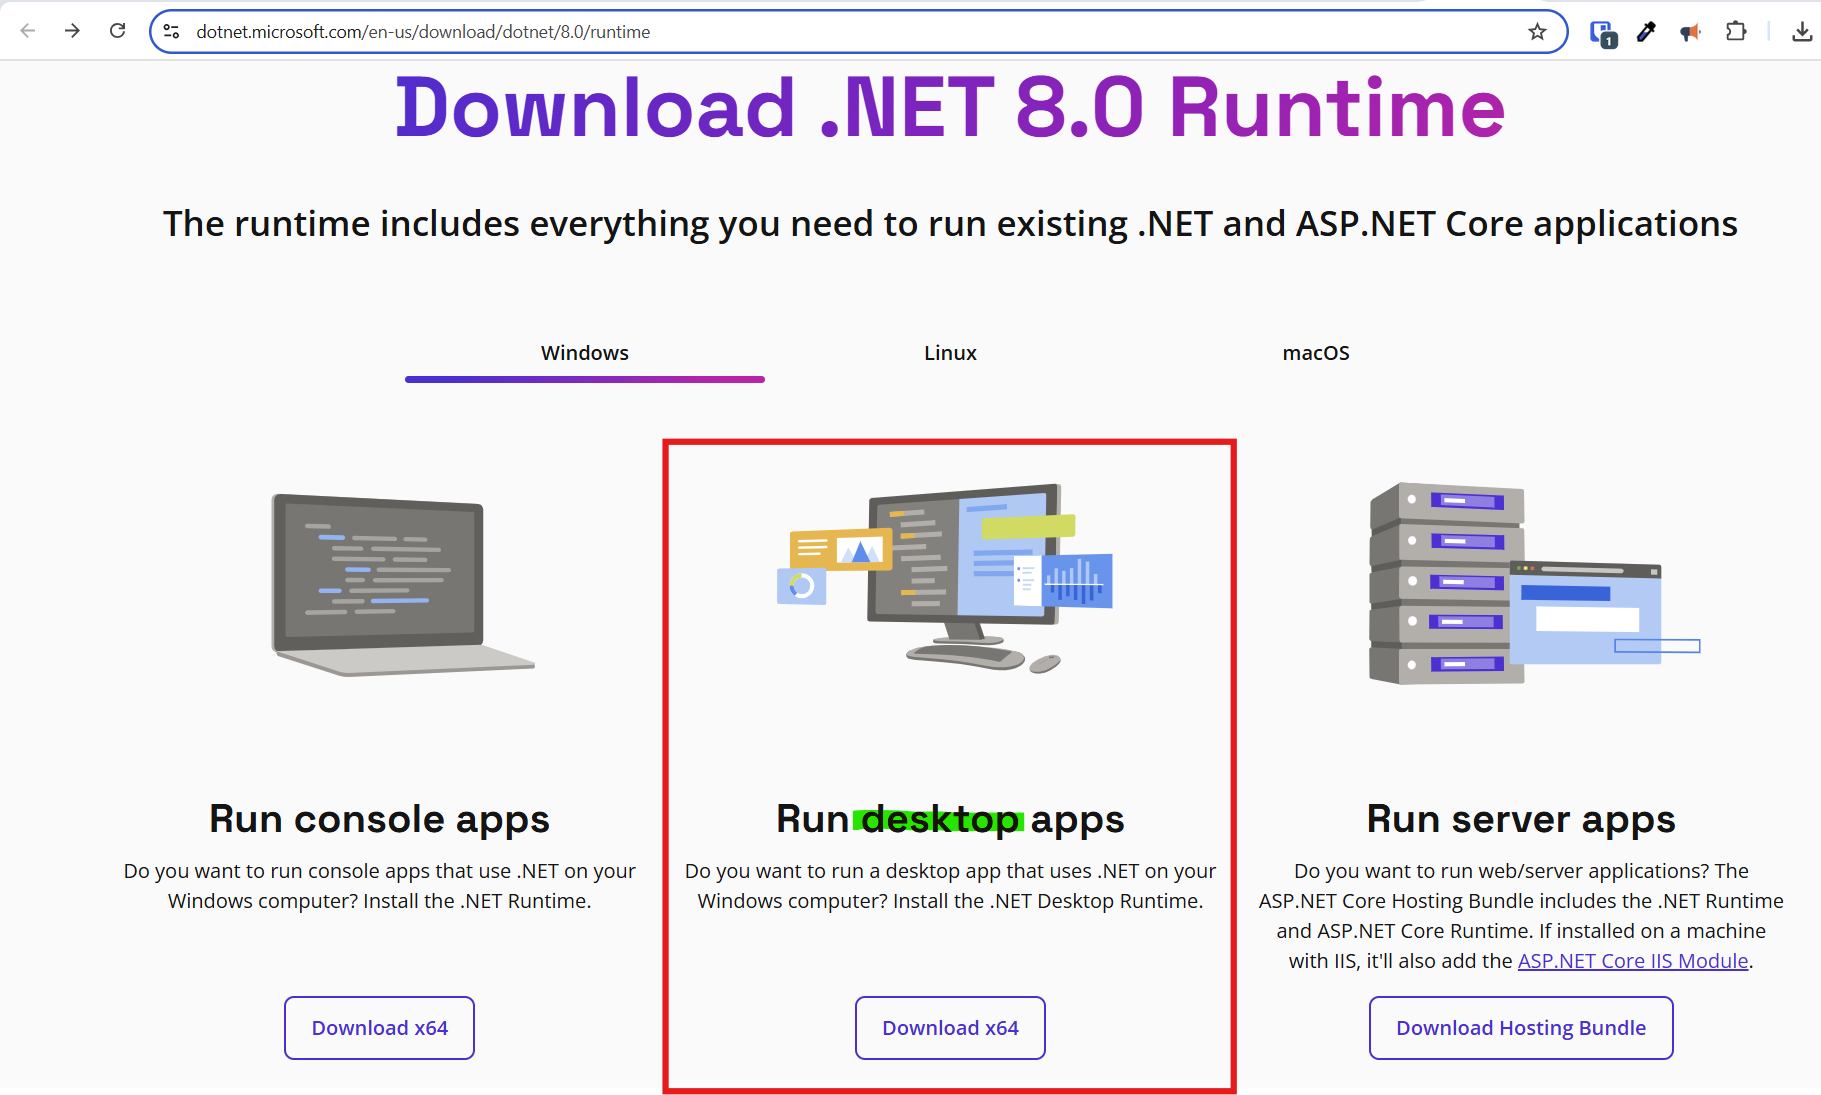
Download the Run desktop apps package suitable for the PC that the Cloud Sync software is being installed on.
-
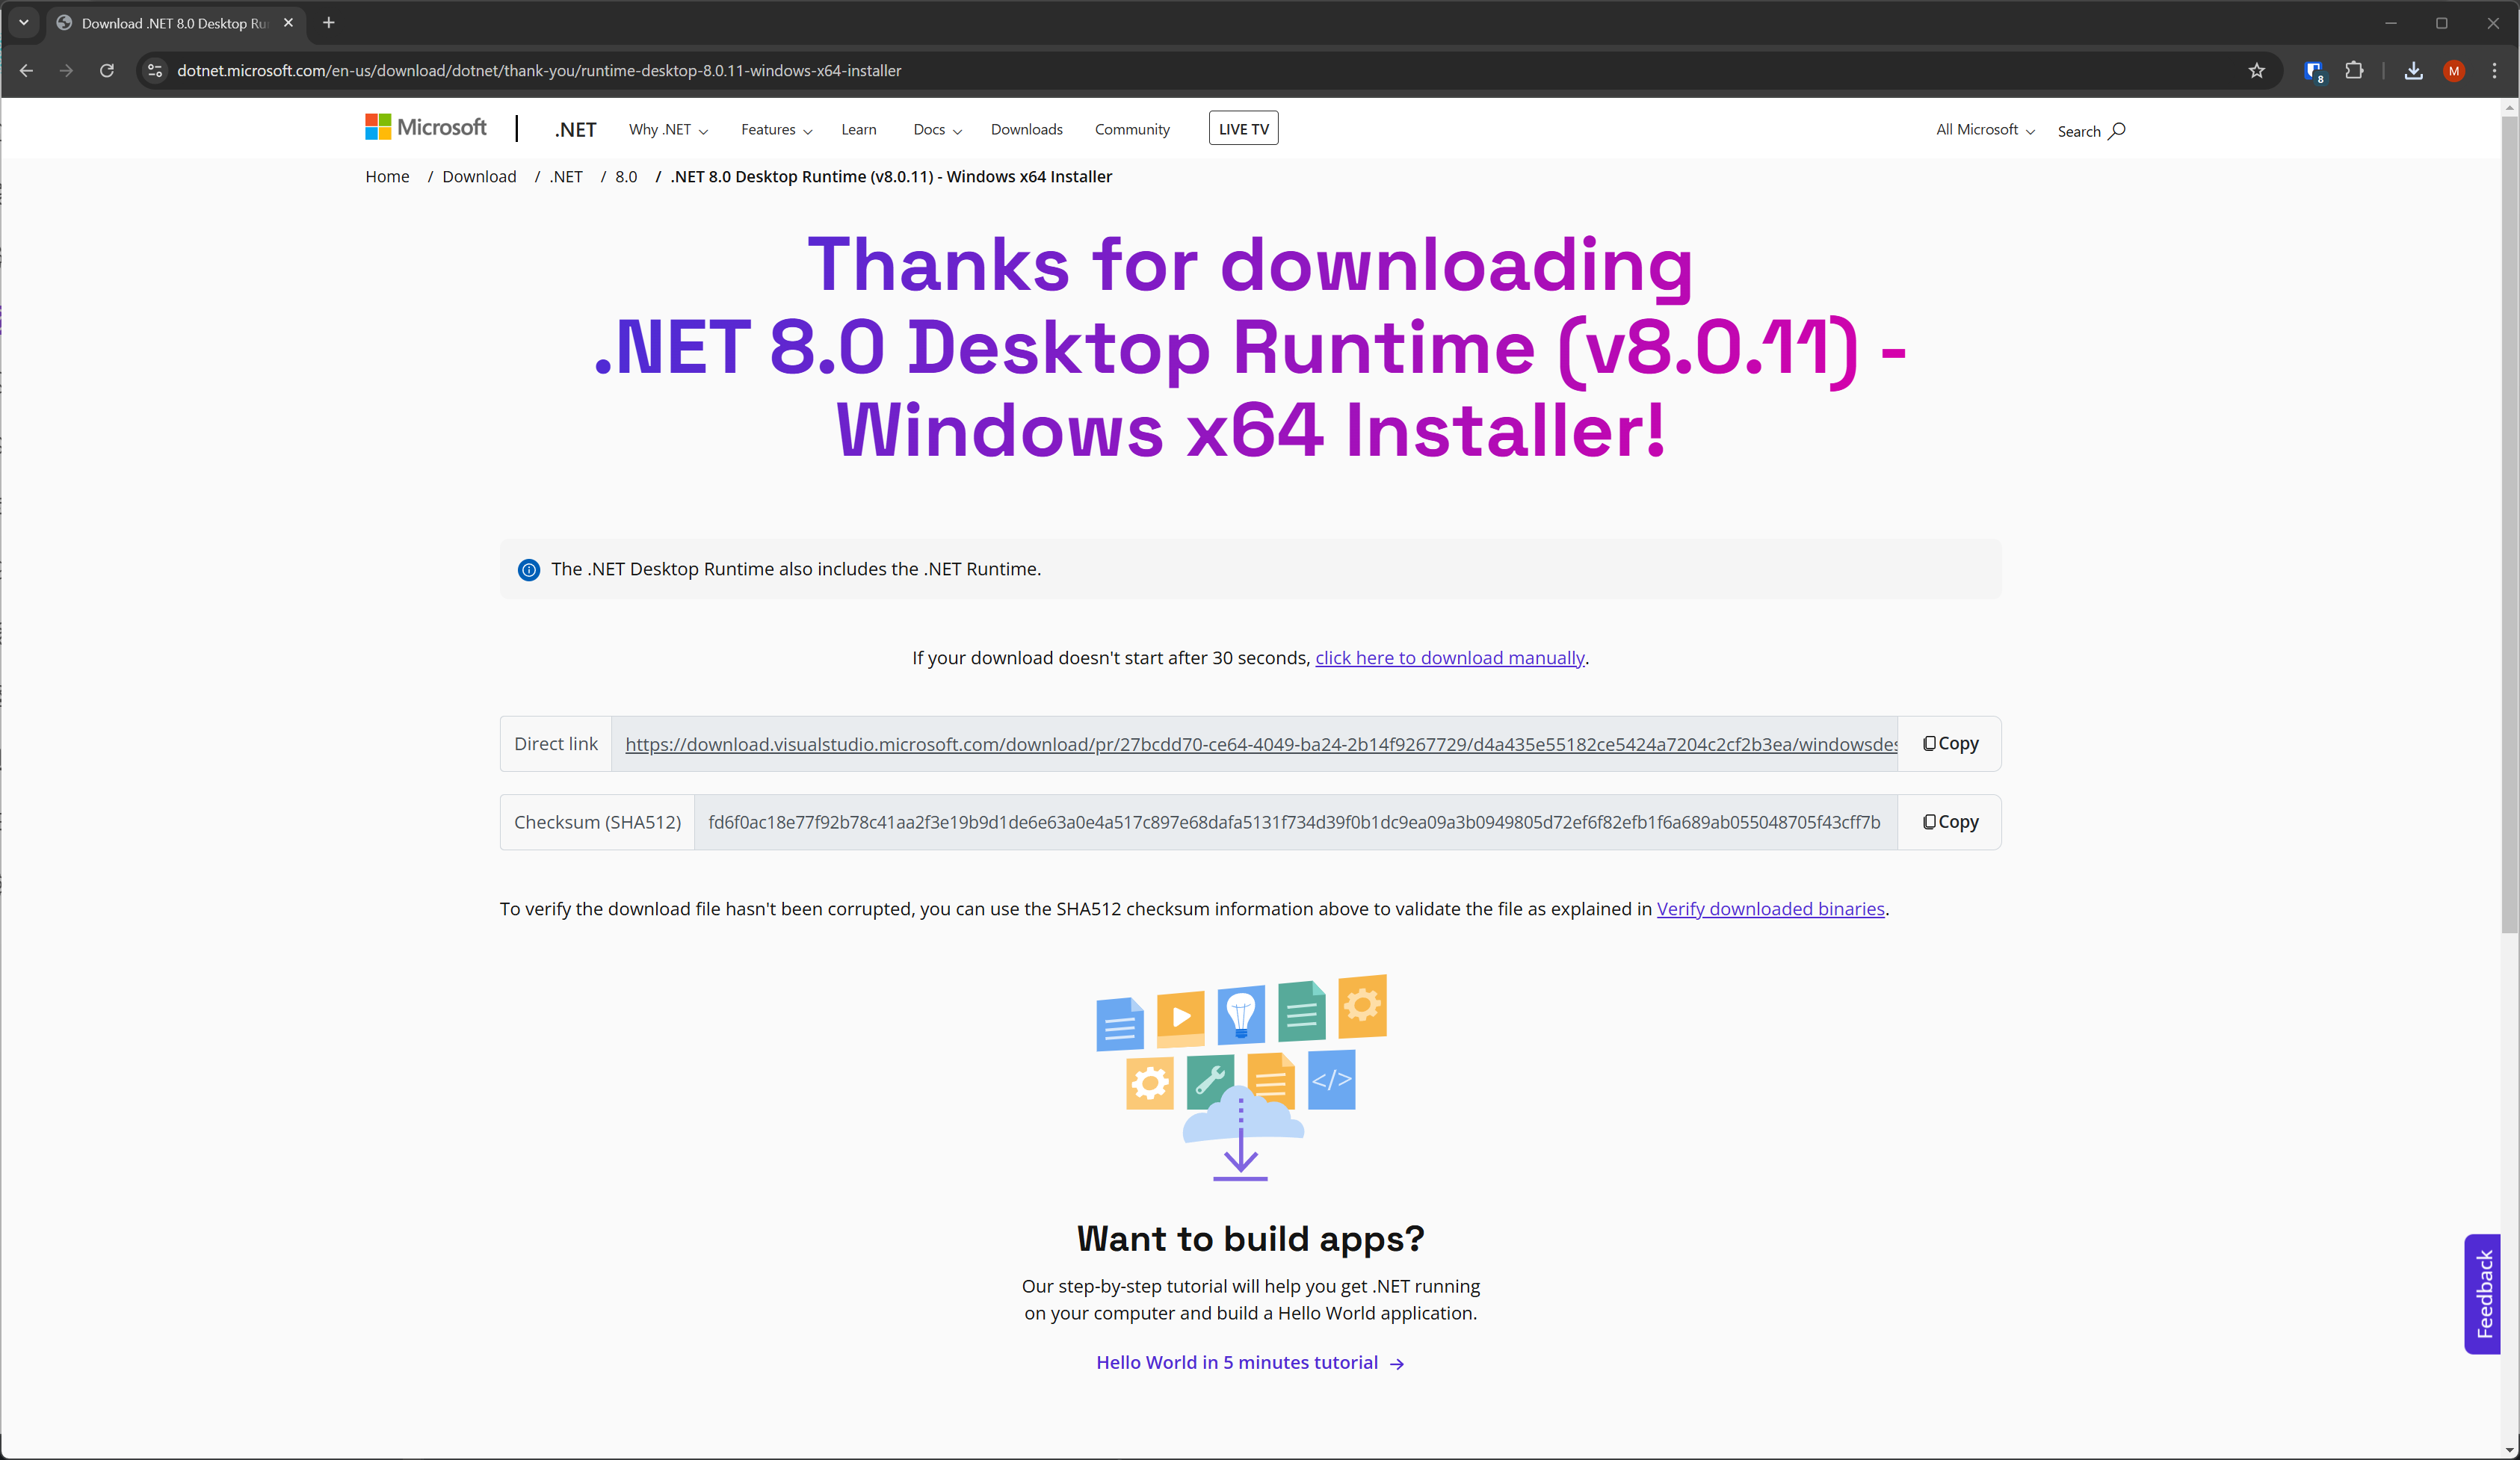
Select Run from the download window in the browser or navigate to the location where the downloaded installer is to commence the Microsoft Windows Desktop Runtime installation process
-
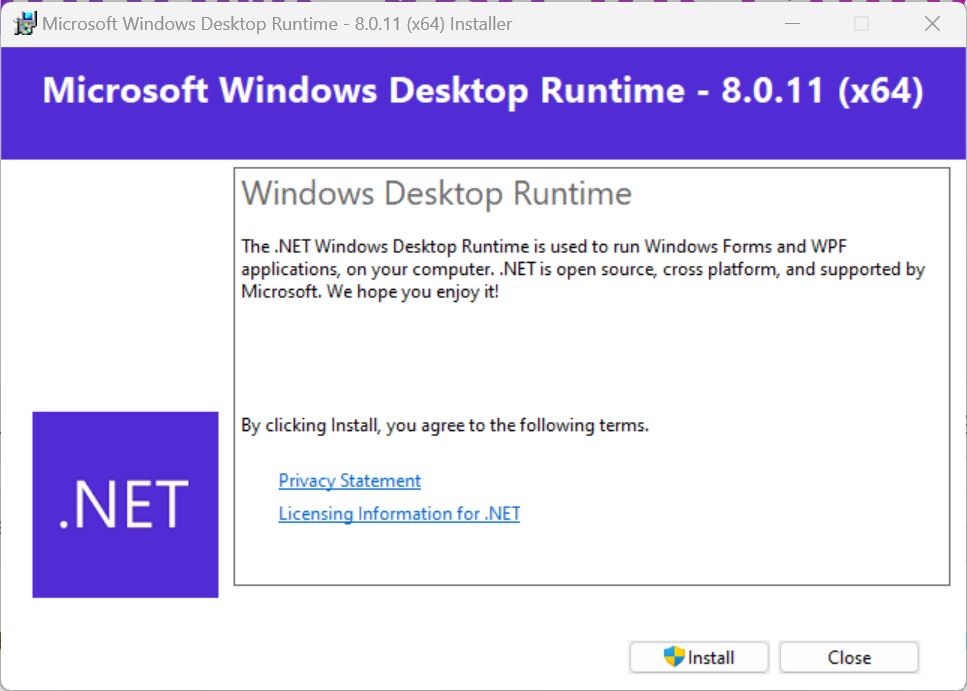
After running the Microsoft Windows Desktop Runtime installer the window below is displayed. Click Install to commence the installation.
-
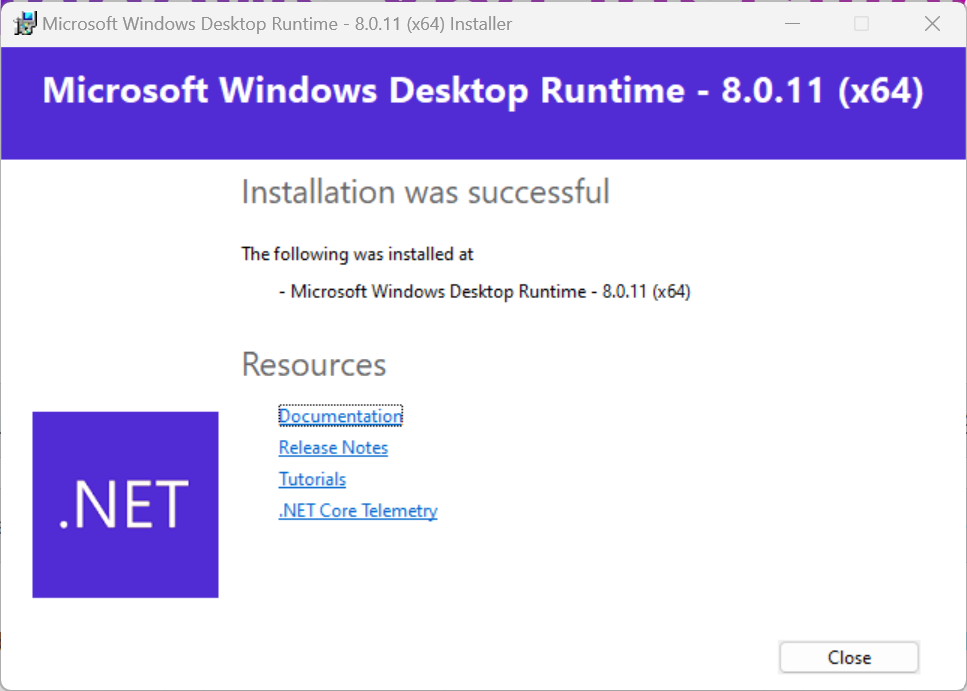
Click Close.
-
Switch back to the Cloud Sync installer window and click Finish
-
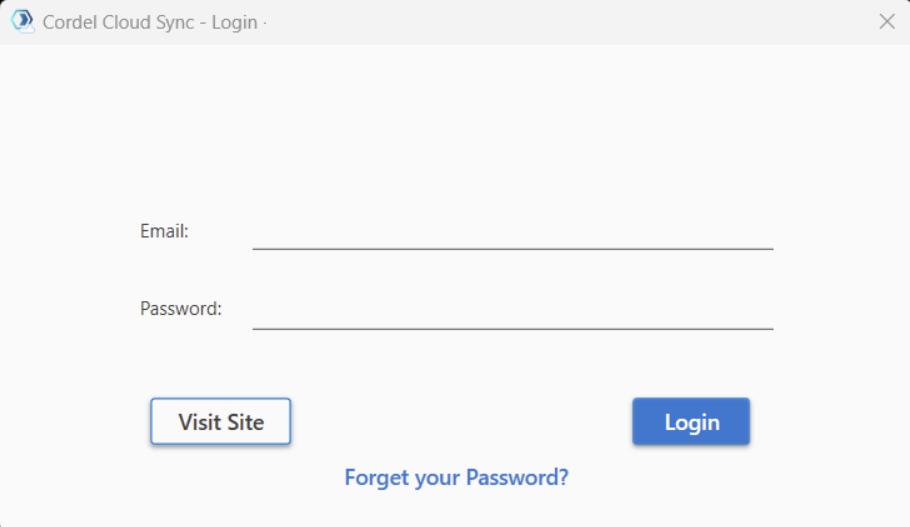
The Cordel Cloud Sync Software will launch automatically. Use your Cordel Connect login details to login to Cloud Sync:
After successful login, the following screen will be displayed:
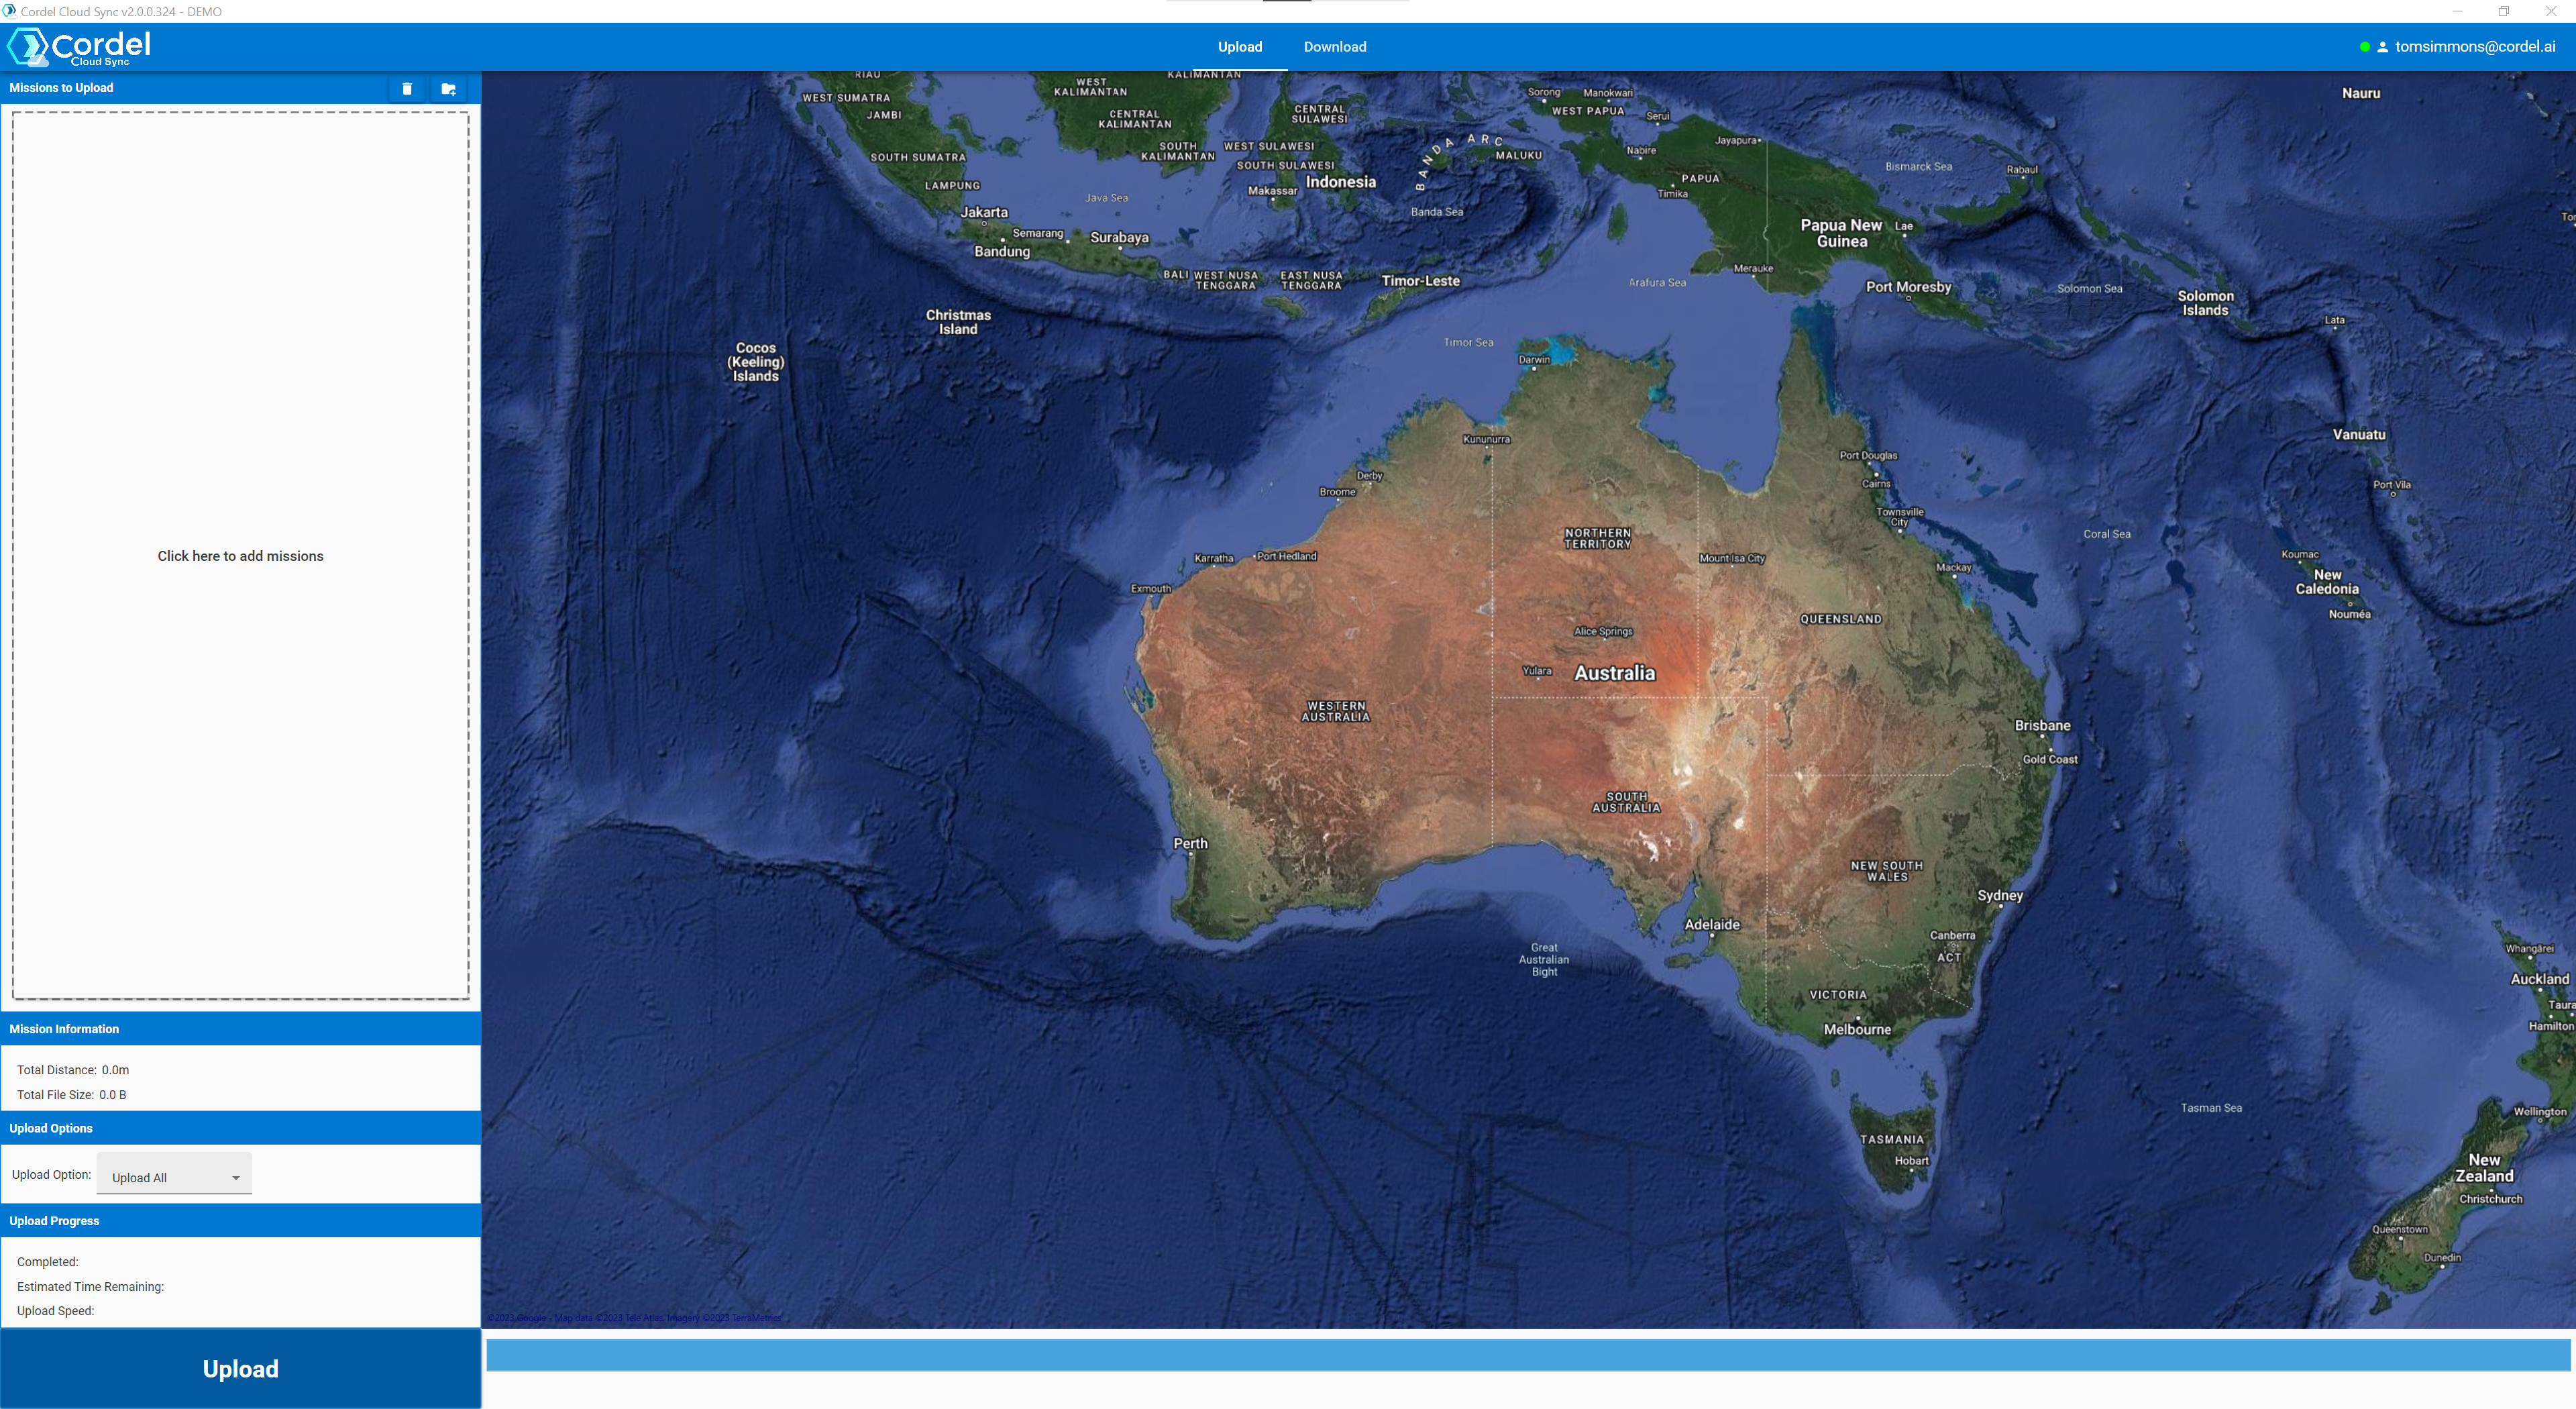
The Cordel Cloud Sync Software can also be started from the Windows Start Menu → Cordel Cloud Sync
Future Updates
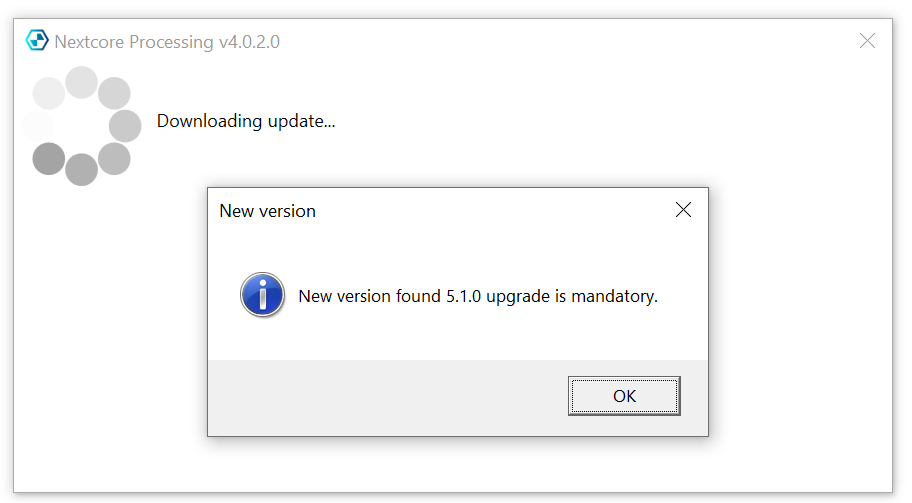
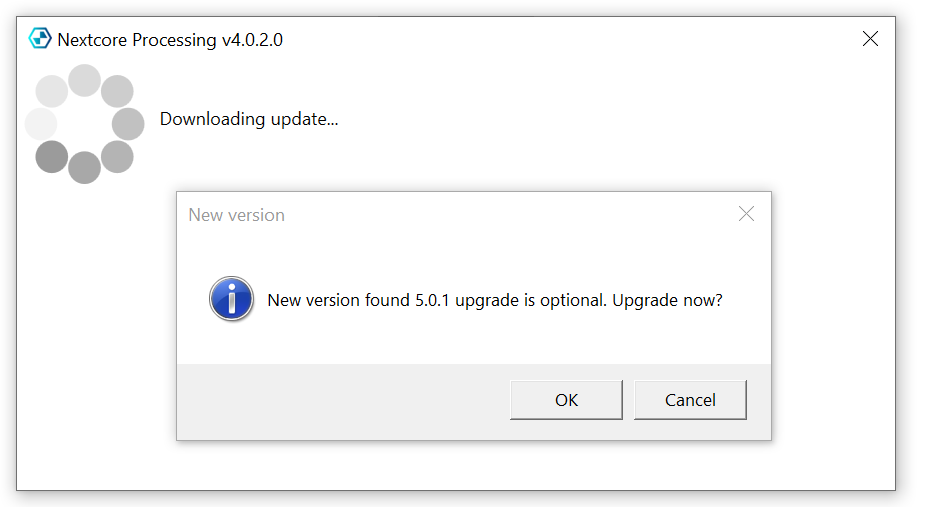
The Cordel Cloud Sync Software will automatically check for new updates if they are available. This check will be performed after a successful login has occurred and a network connection is available. Updates can be mandatory or optional.