

Captured data is stored on the Cordel Hardware onboard computer - commonly referred to as “the Rover”.
This data can then be transferred from the Rover to the Ground Station host machine manually or automatically.
Automatic: How to transfer data from Cordel capture hardware to the host machine
Captured data is automatically transferred from the Rover to the host machine when capture concludes.
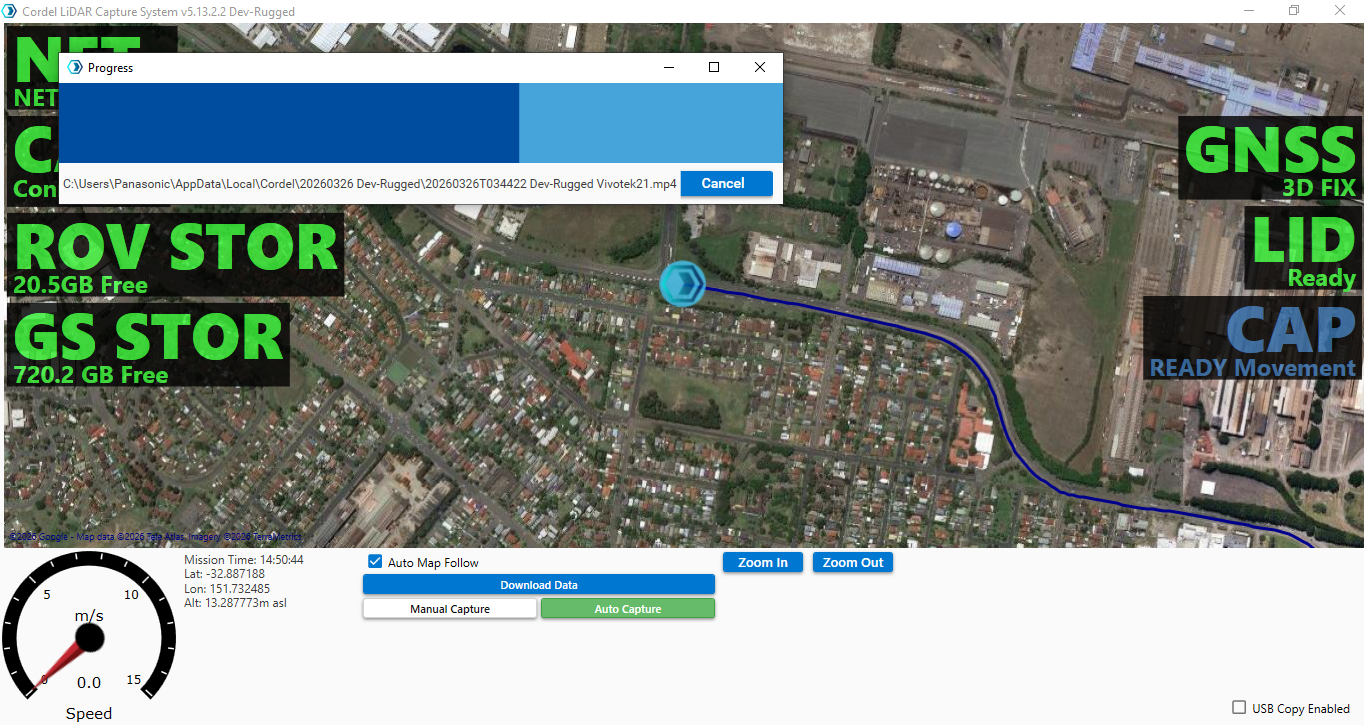
A progress bar will appear at the top of the screen indicating the download status. If Ground Station is configured to transfer captured data automatically, this process can occur while data is being captured.
On start-up, Ground Station will also compare the files on the Rover to those on the host machine. If there are files on the Rover that aren’t present on the host machine, it will open the data download panel. This panel can also be manually opened by pressing the “Download Data” button in Ground Station
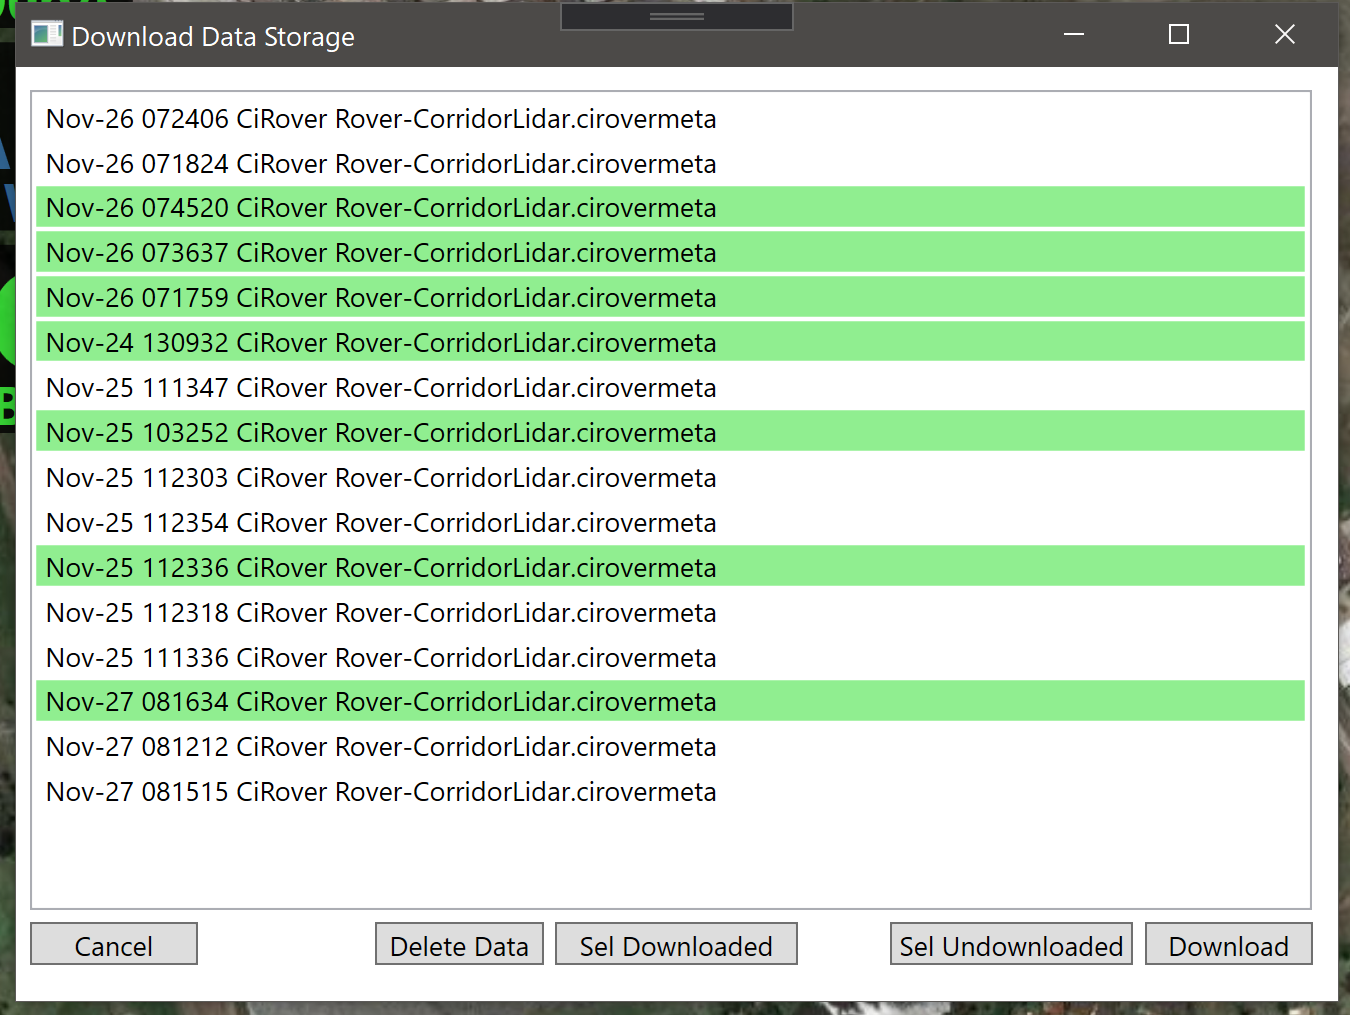

Captured data is grouped by start time, using the format “Mon-DD HHMMSS” [Month-Day UTC-time“]
By default, Cordel Ground Station saves mission files on the host machine in a sub folder in the %AppData% directory.
Captured data can be accessed on the host machine using Windows Explorer at the following location:
C:\Users\<USERNAME>\AppData\Local\Cordel\Data
To quickly access the capture data, open file explorer and paste the above file path (make sure to replace USERNAME with your actual windows username).
The Rover will continue recording even if there is no host machine or LiDAR sensor detected. This means that in the unlikely event a host machine becomes disconnected from the Rover, the Rover continues to save data.
Manual: How to transfer data from Cordel capture hardware to the host machine
Any data stored on a Cordel capture device can be managed using the Ground Station software, installed on the host machine.
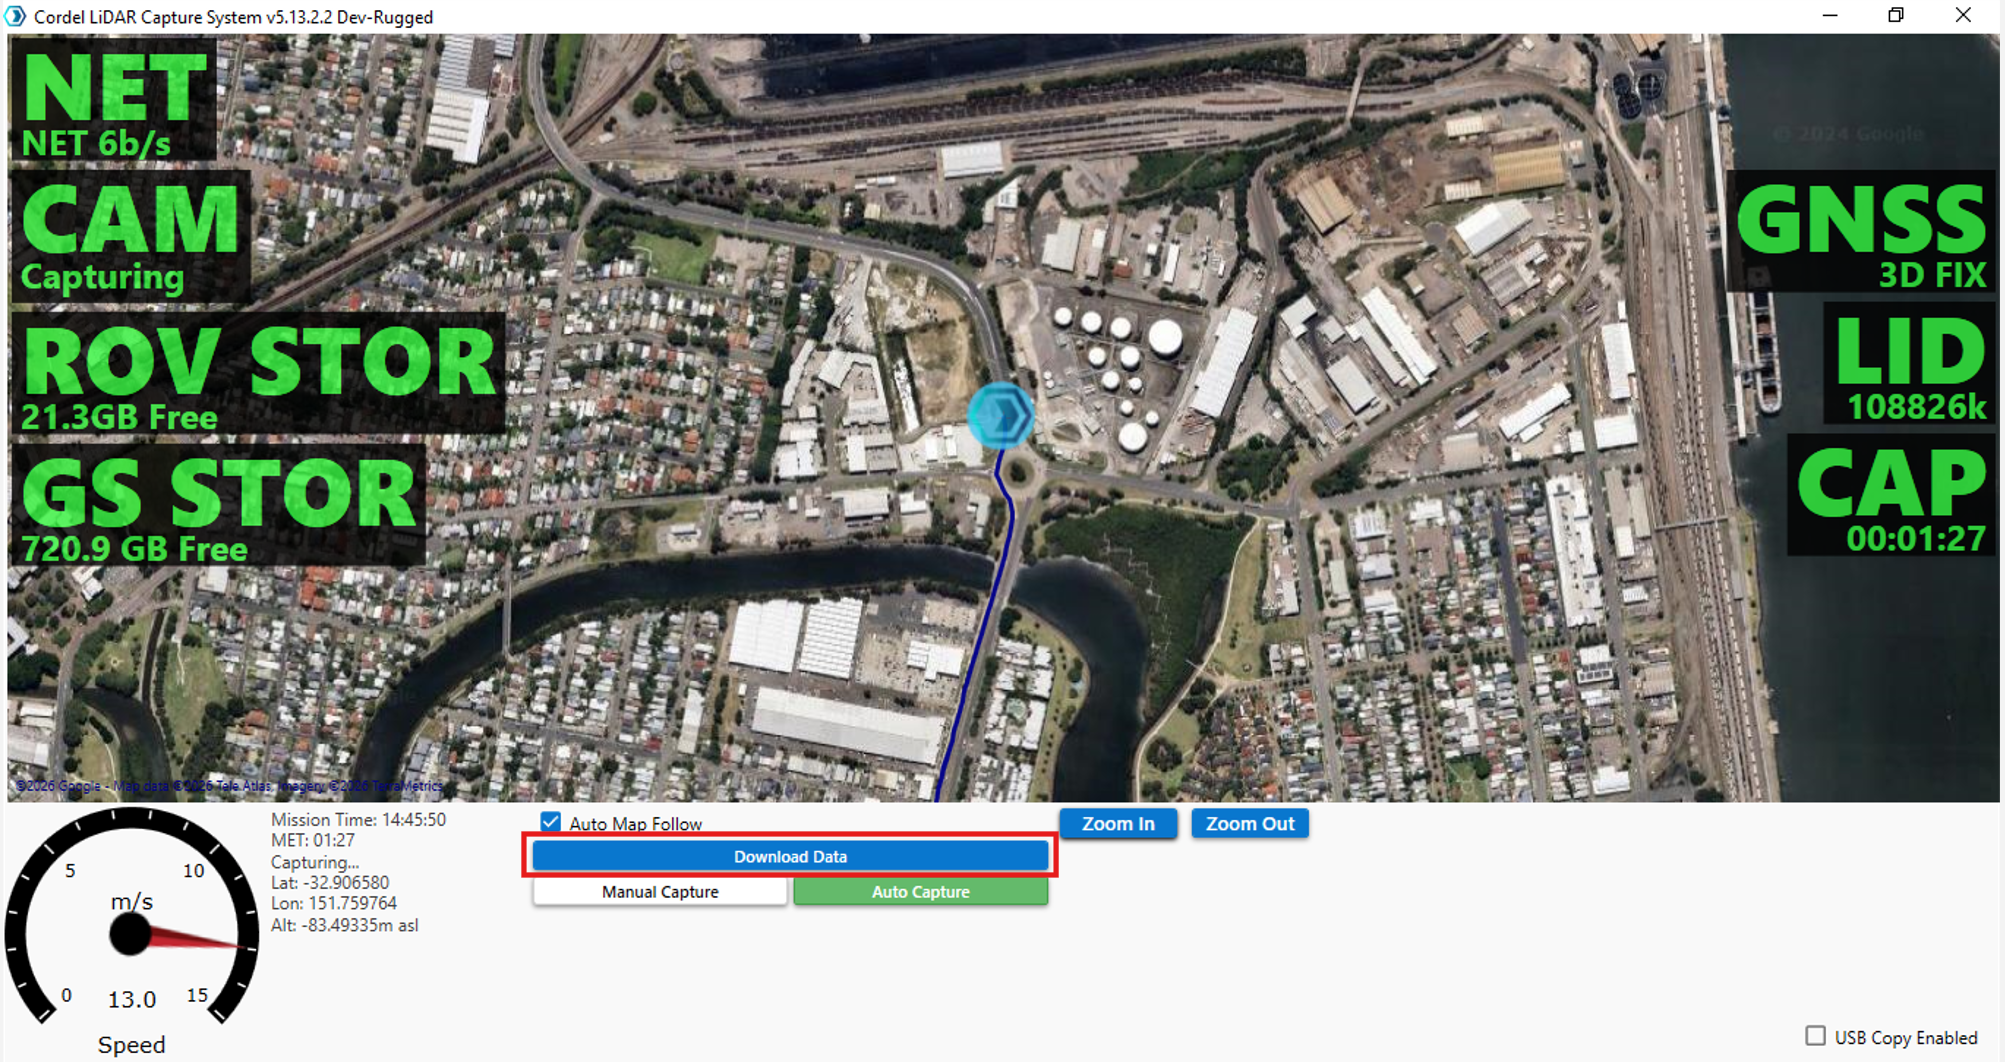
To manage captured data stored on the Rover, open Ground Station and select 'Download Data':
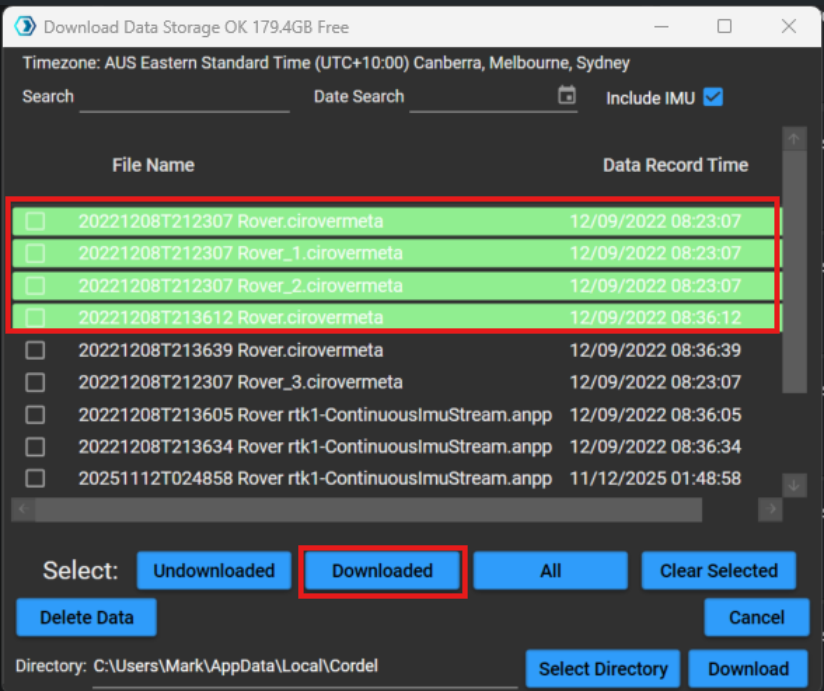
Data stored on Cordel capture hardware is grouped into one of two categories:

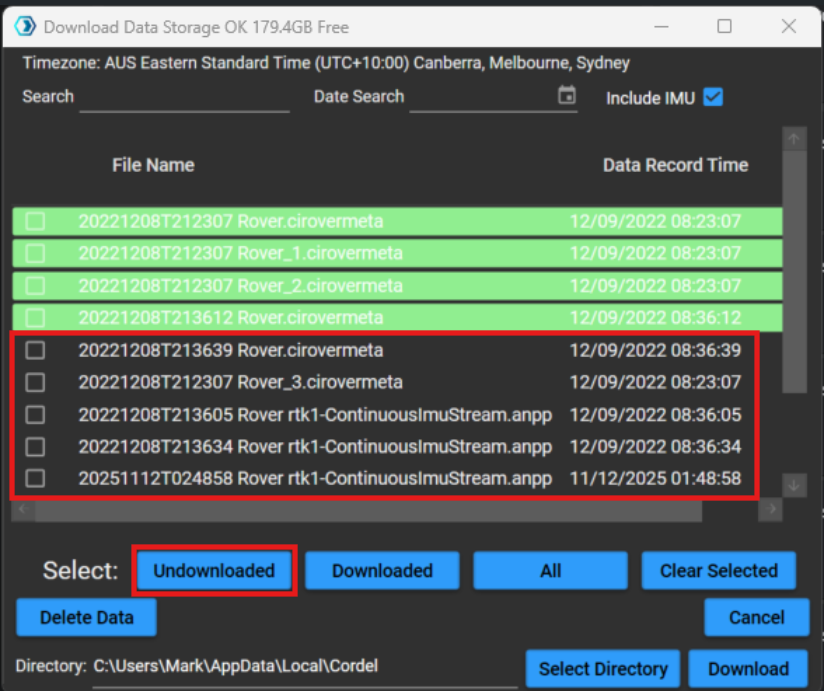
⬜ Undownloaded data
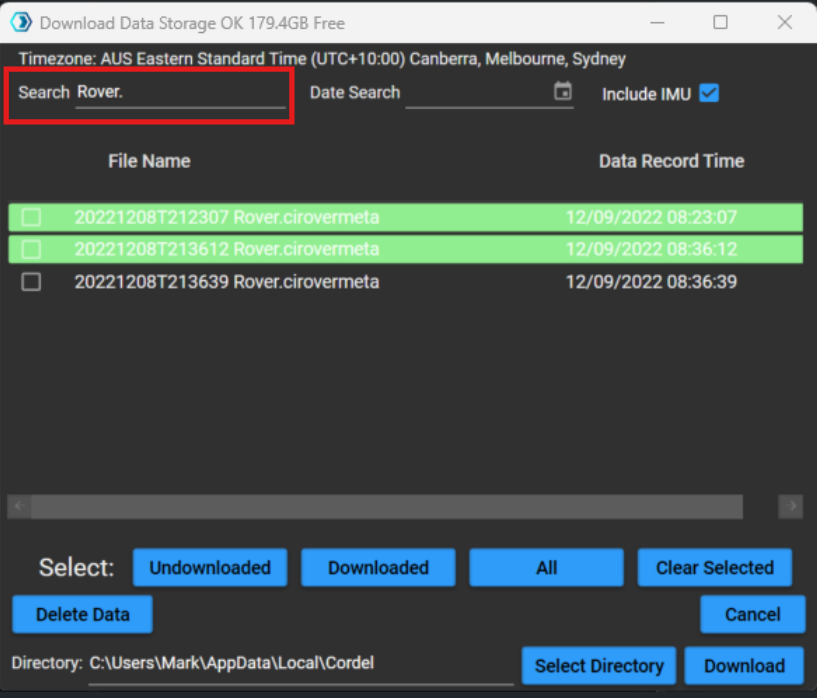
Users are able to filter data stored on a Roved in the following ways:
Filter results by mission name that contains certain text:
Filter results by mission capture date:
The date filter is configured as DD/MM/YYYY
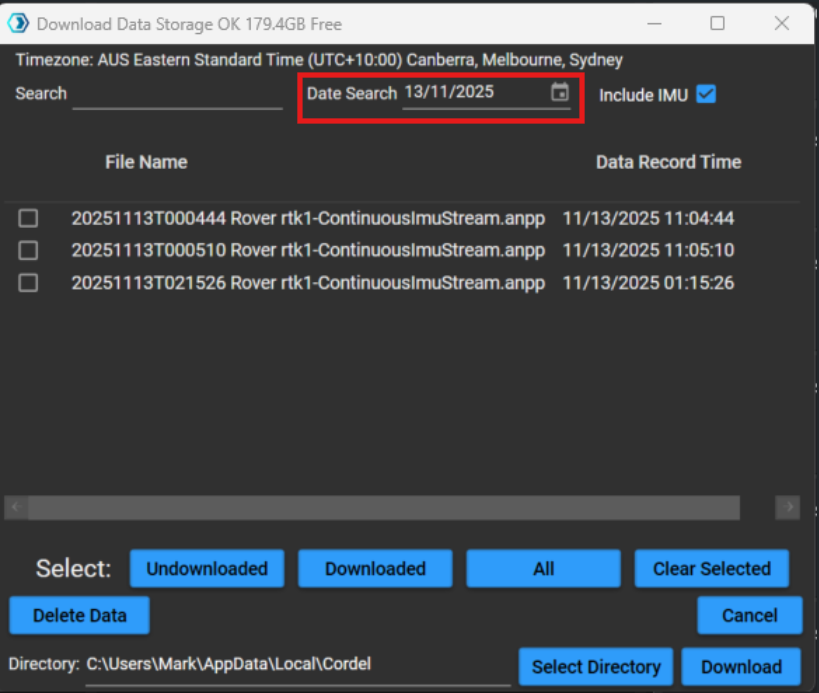
The capture date filter is this is based on the date settings configured on the host machine at the time (and timezone) of capture. Users may need to add or subtract one day to include certain results, depending on time differences.
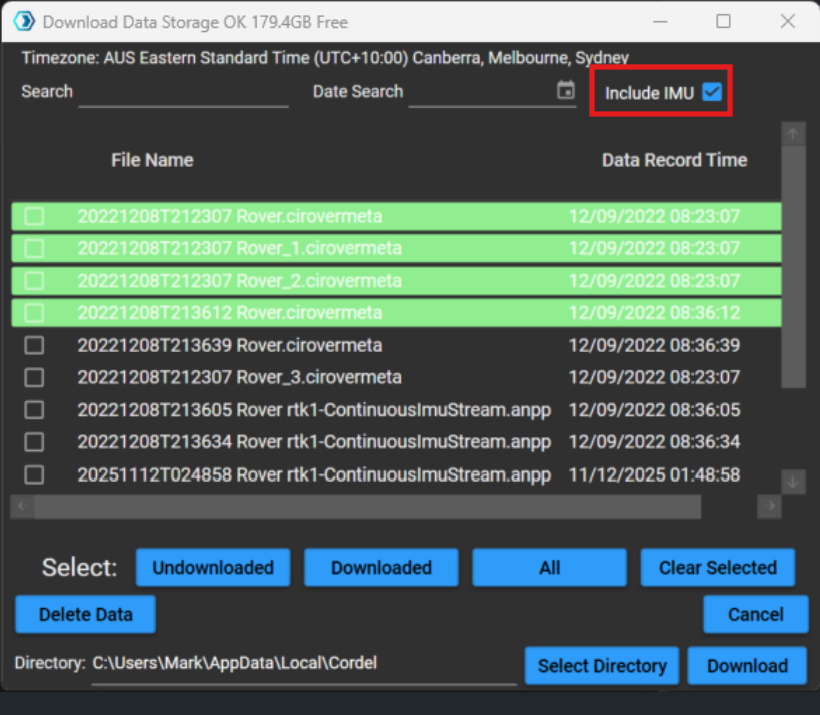
Include continuous IMU files
As part of the data capture process, Cordel hardware generates IMU files that contain IMU data logged as a continuous stream over time - independently of individual mission captures. These files are then then segmented and stored as separate files for download along side mission data.
The continuous IMU files are written into dedicated IMU files with the *-ContinuousImuStream.* file type.
Users are able to include continuous IMU files using the dedicated checkbox:
Select All
Users can choose to select all undownloaded files that match the search criteria using the corresponding button:
Users can choose to select all downloaded files that match the search criteria using the ‘Downloaded’ button:
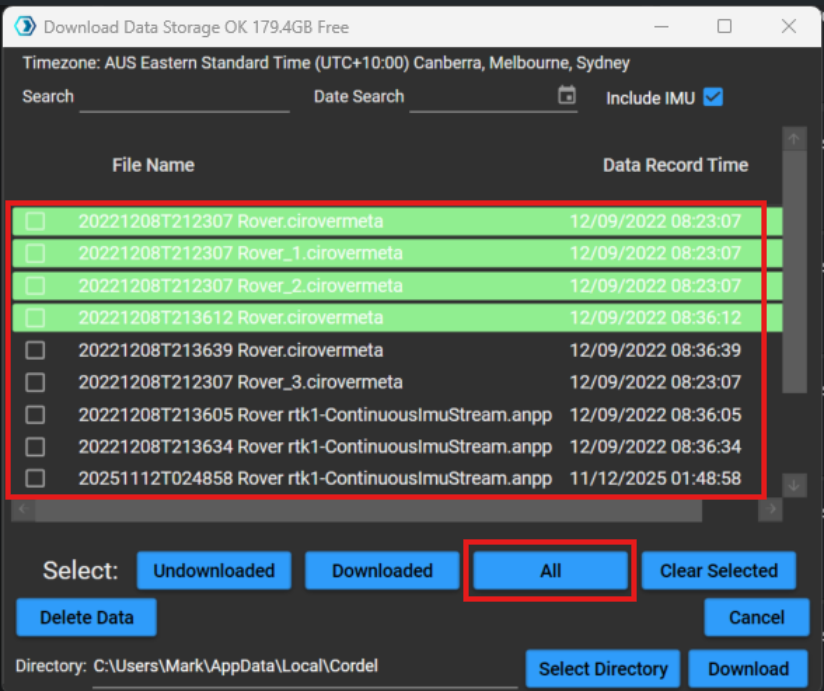
Users can choose to select all files that match the search criteria using the ‘All’ button:
Clear Selected
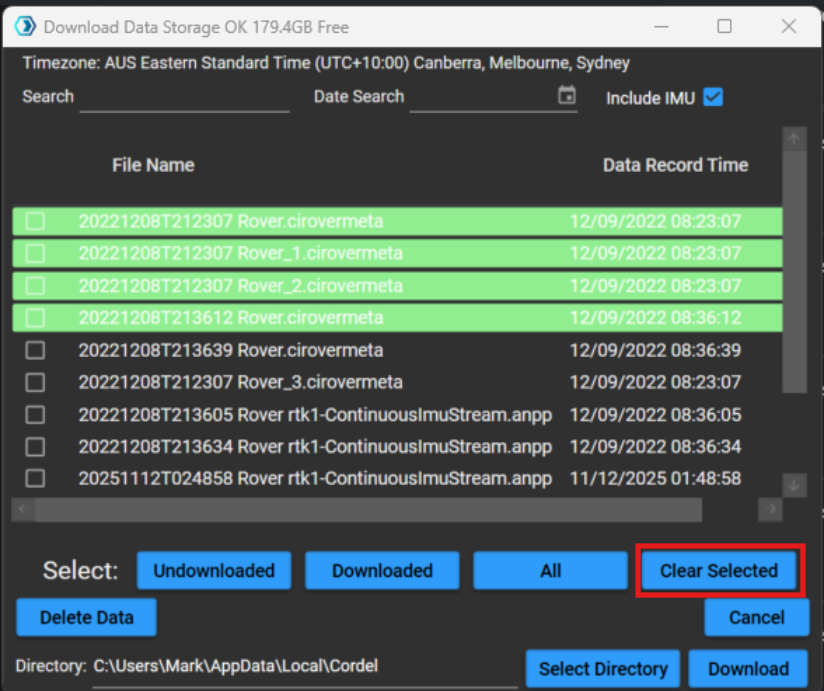
Users can deselect all selected files using the ‘Clear Selected’ button:
Delete Data
Users can manually delete selected files from the Rover using the ‘Delete Data’ button:
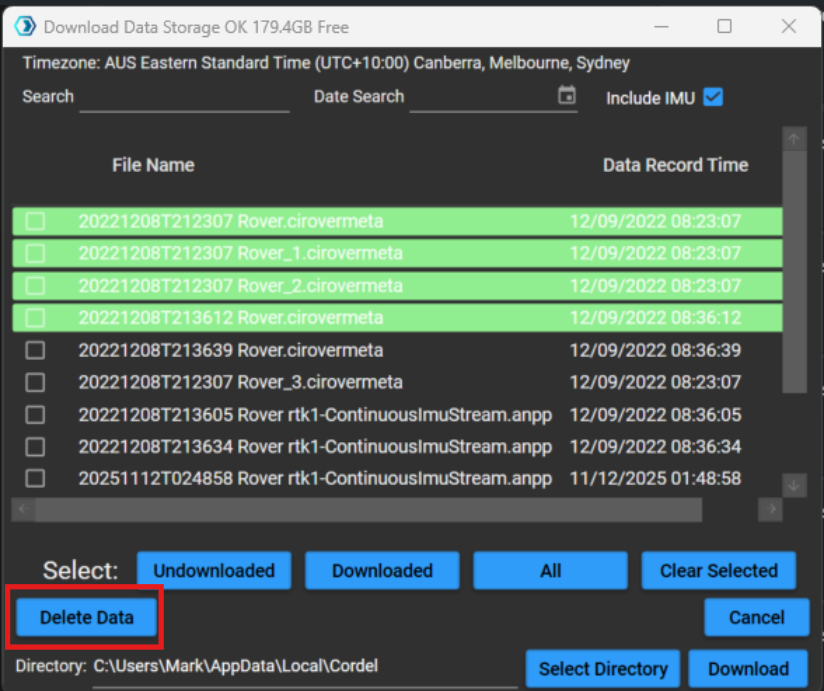
Data is automatically deleted from Rovers using the FIFO (First In First Out) method. Typically, users do not need to manually delete data from the Rover.
Select Directory
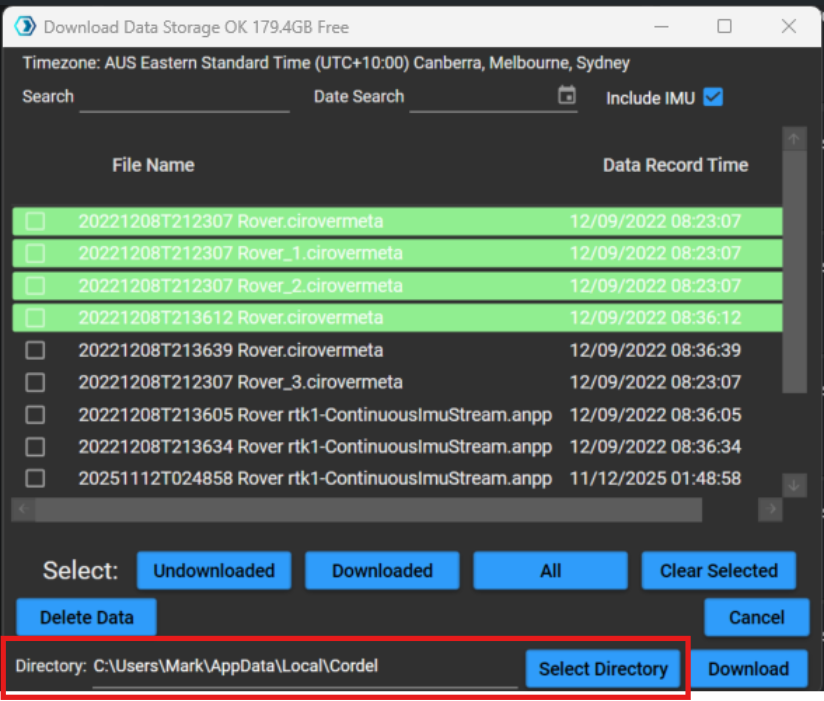
The directory shows users where manually download data will be stored.
To change the location, use the ‘Select Directory’ button and navigate to the folder you wish to save Rover data to:
Download
Users can manually download selected files from the Rover using the ‘Download’ button:
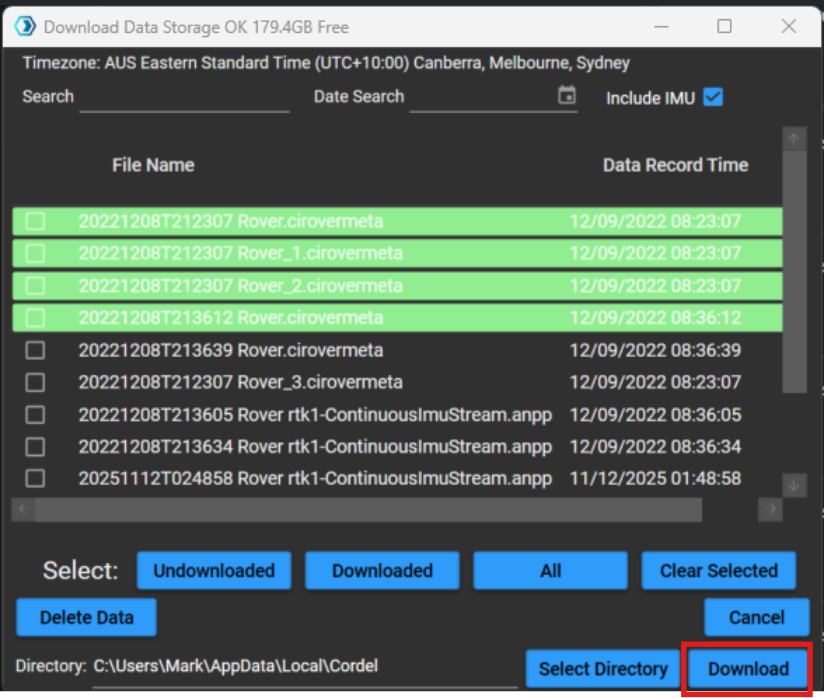
Files downloaded from the Rover will be saved to the Directory shown in the Data Management screen.