
-
Once you have download the Ground Station installer package from Cordel Connect, navigate to your downloads folder on your computer.
Haven’t downloaded the Ground Station installer package yet? There’s more information on how to download the software here.
-
Double click the installer package (Cordel Ground Station-*.*.*.msi) to launch the setup wizard.
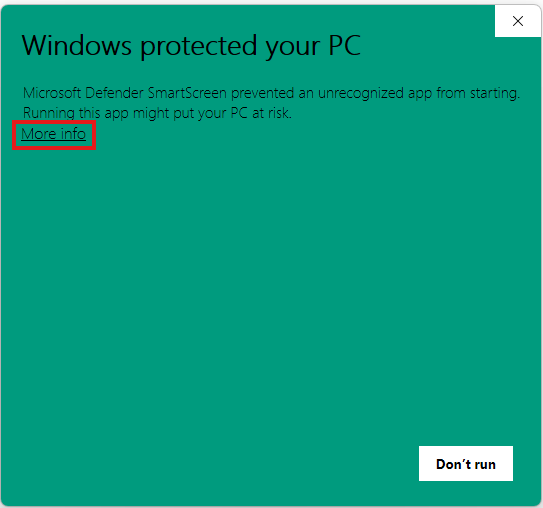
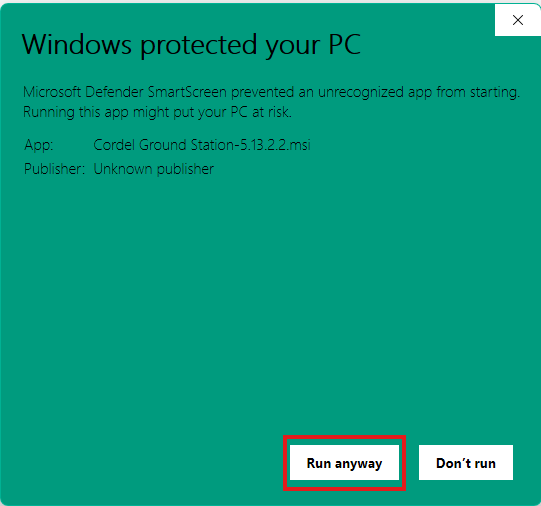
If you see “Windows protected your PC” click ‘More info’ then ‘Run anyway’
-
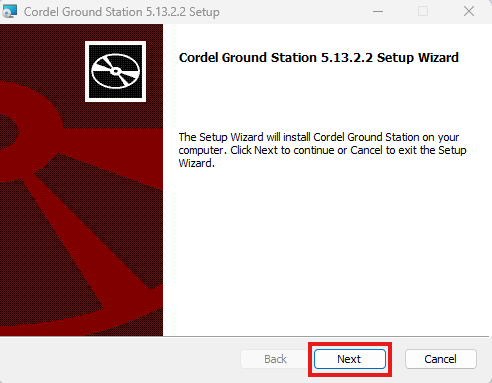
Click ‘Next’ in the setup wizard to start the installation process.
-
The software will display a progress bar while the install takes place. This phase of the installation typically takes 1-2 minutes.
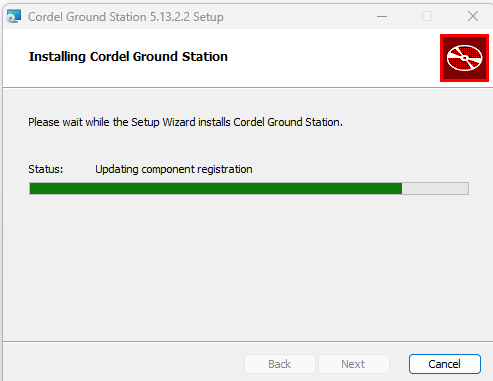
-
Once the software installation phase is complete, users are prompted to download the latest Microsoft Windows Desktop Runtime. Click the ‘Download Microsoft .NET {X} Desktop runtime’ hyperlink to download the most recent version.
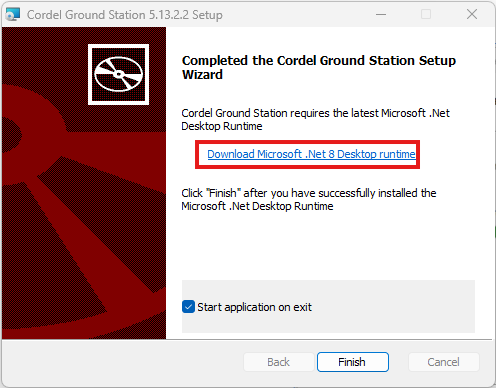
-
Users are redirected to the .NET download page and are typically presented with the option that suits their operating system.
Click ‘Download’ under the Run desktop apps package suitable for the PC that the Ground Station software is being installed on.
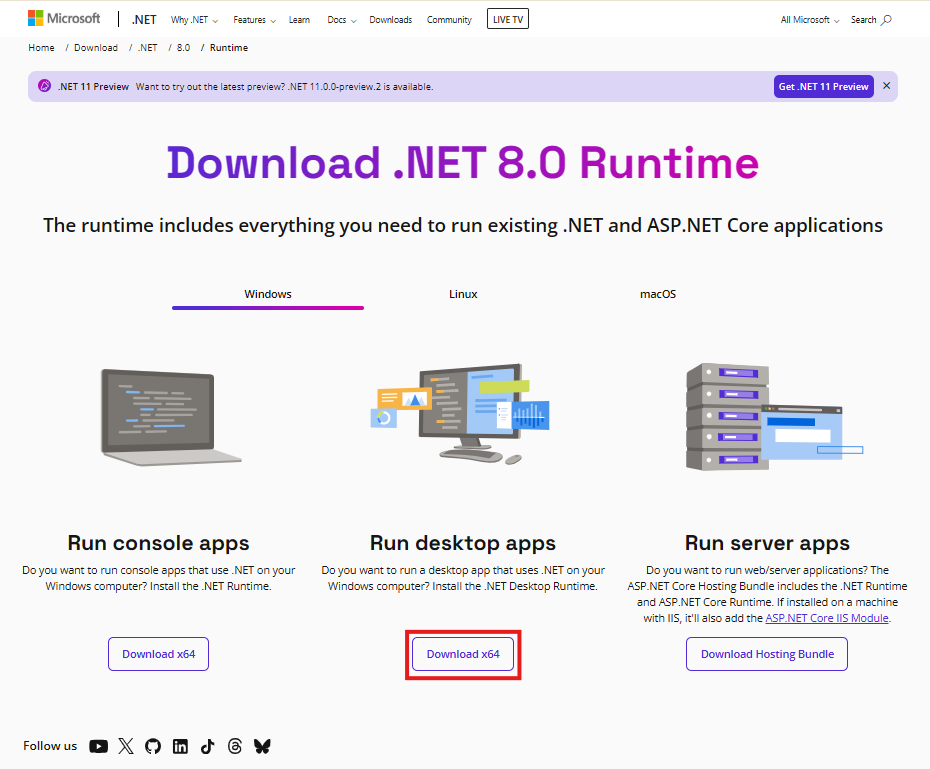
-
Select Run from the download window in the browser or navigate to the location where the downloaded installer is to commence the Microsoft Windows Desktop Runtime installation process.
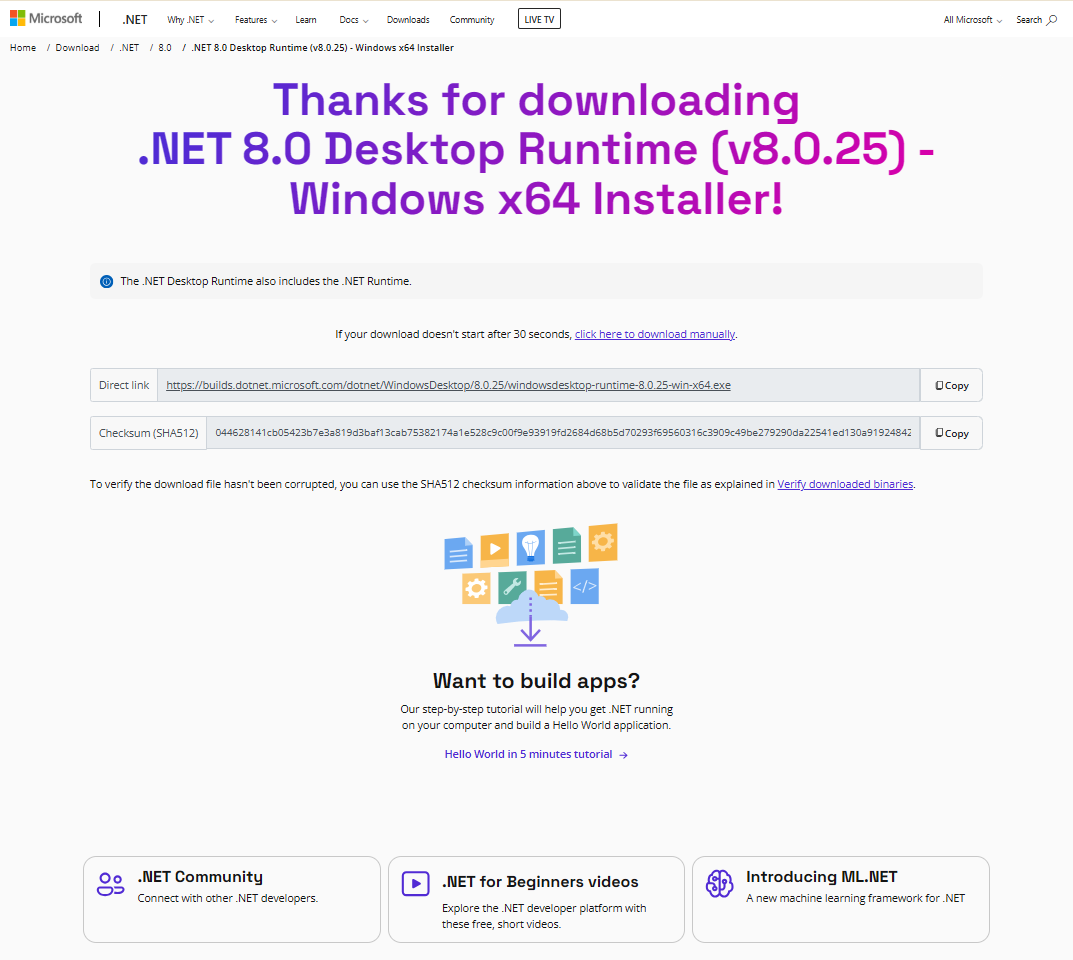
-
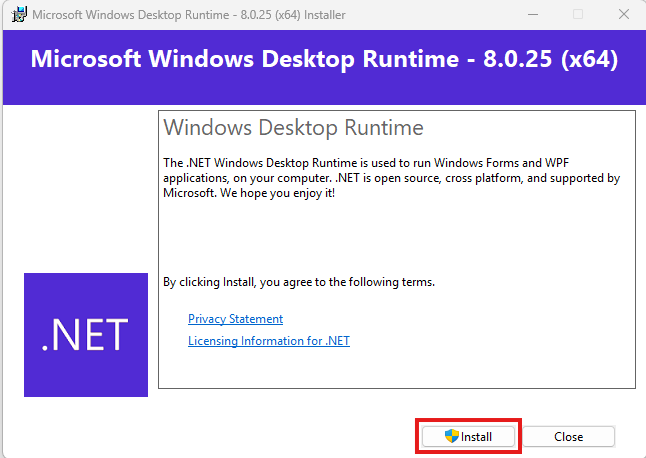
After running the Microsoft Windows Desktop Runtime installer the window below is displayed. Click Install to commence the installation.
-
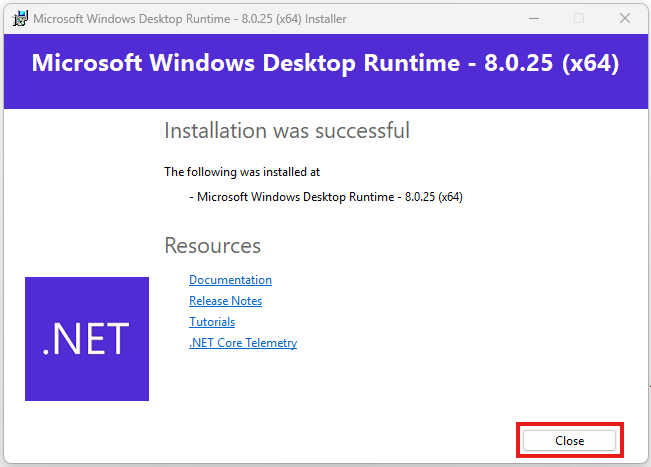
Click Close.
-
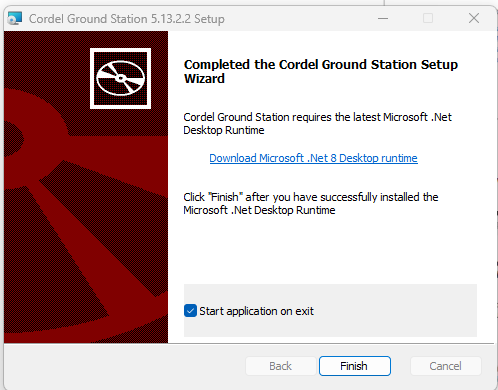
Return to Ground Station installer window. Select ‘Start application on exit’ and click Finish.
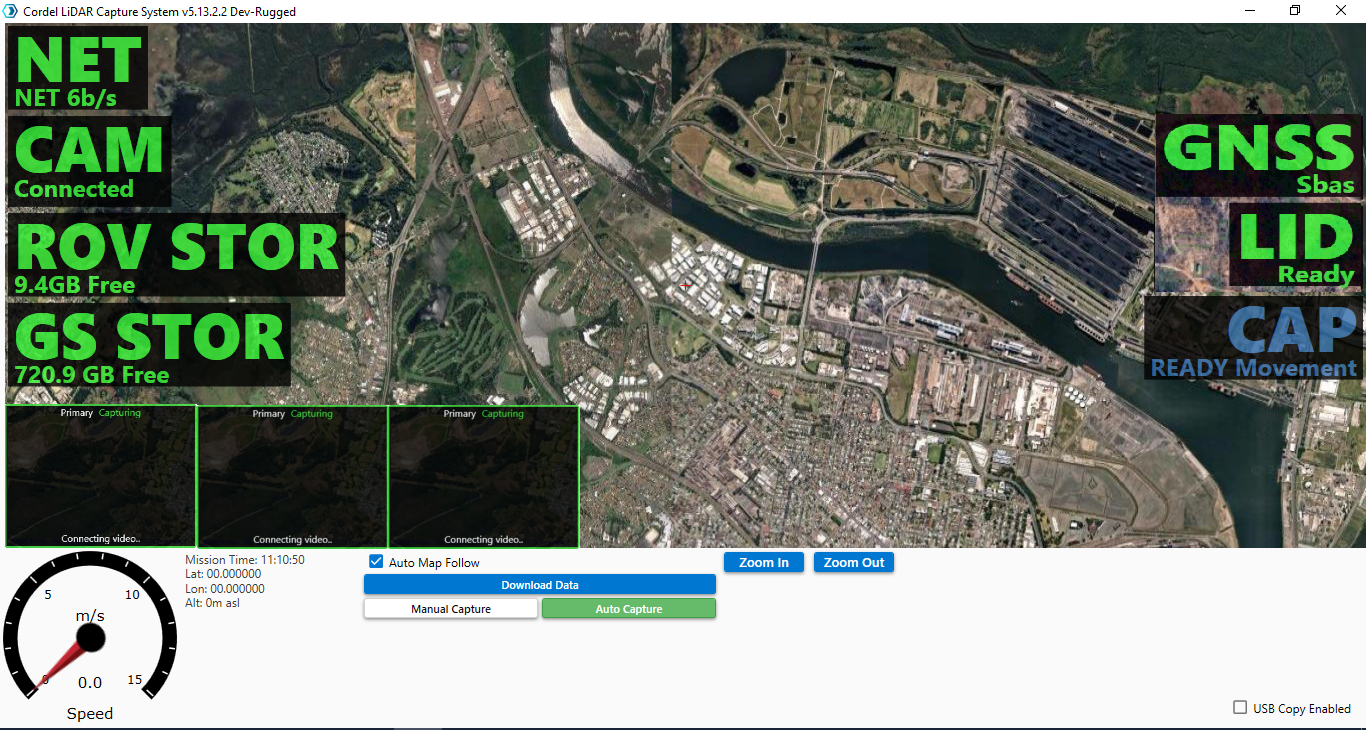
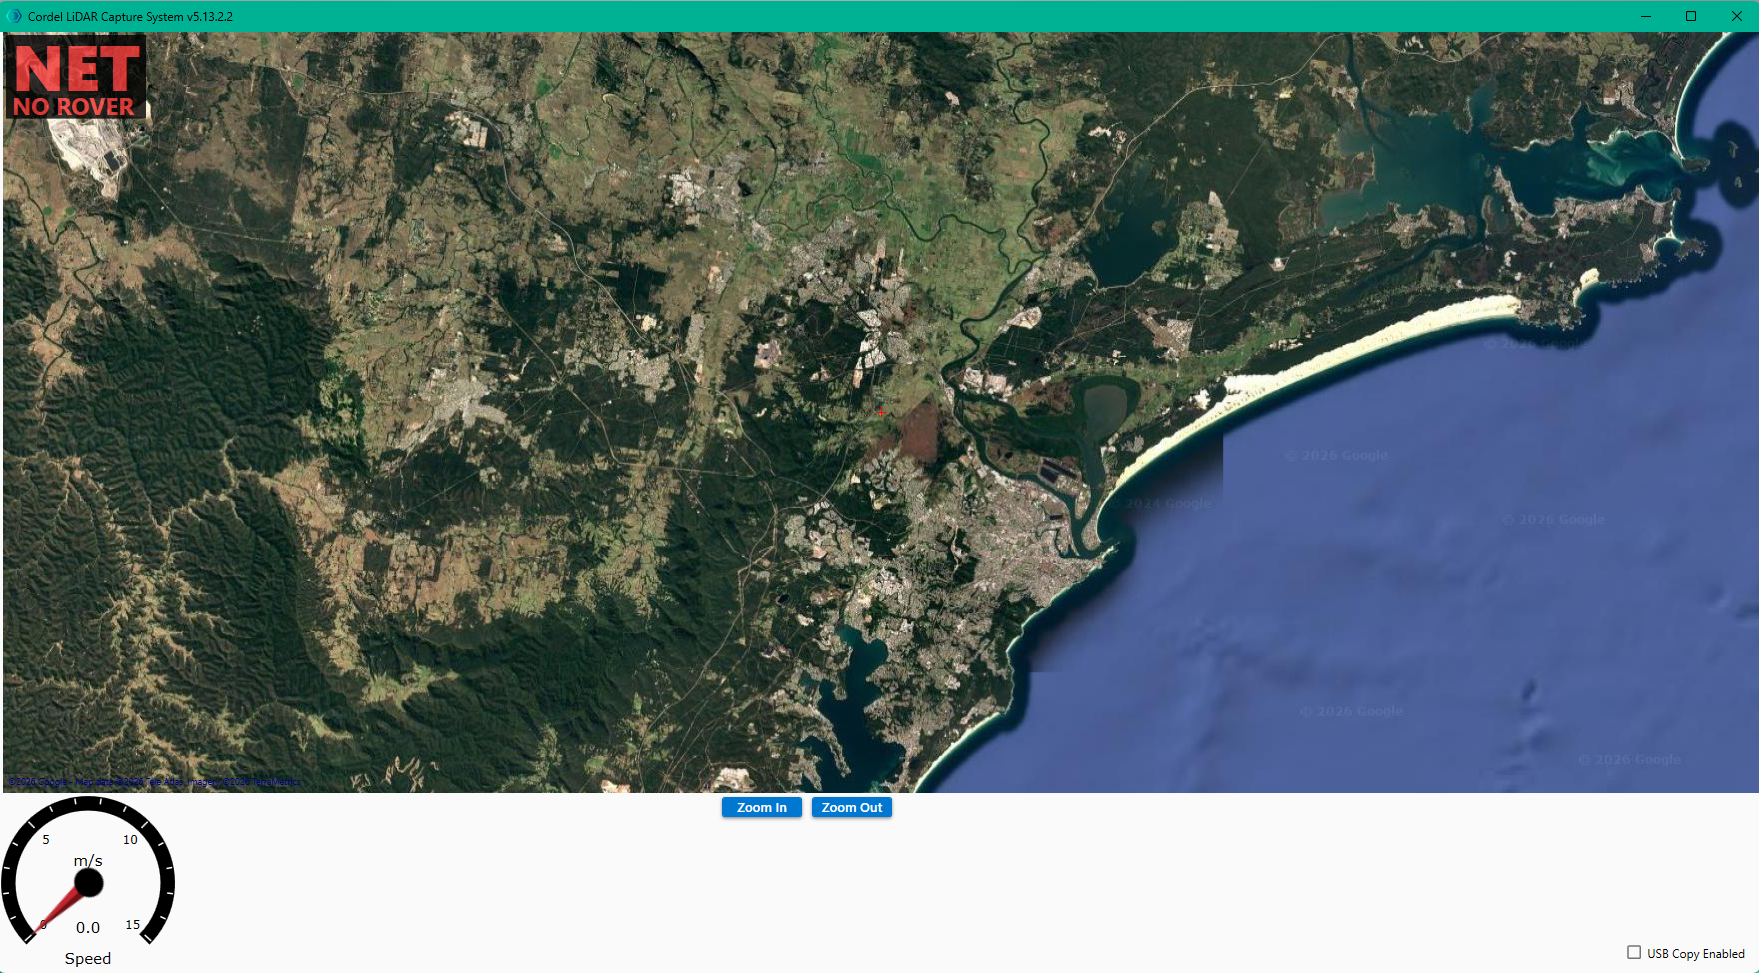
The Cordel Ground Station Software will launch automatically and the following screen will be displayed:
As the Ground Station software establishes a connection to the Cordel hardware, it is not uncommon for sensors to display warnings:
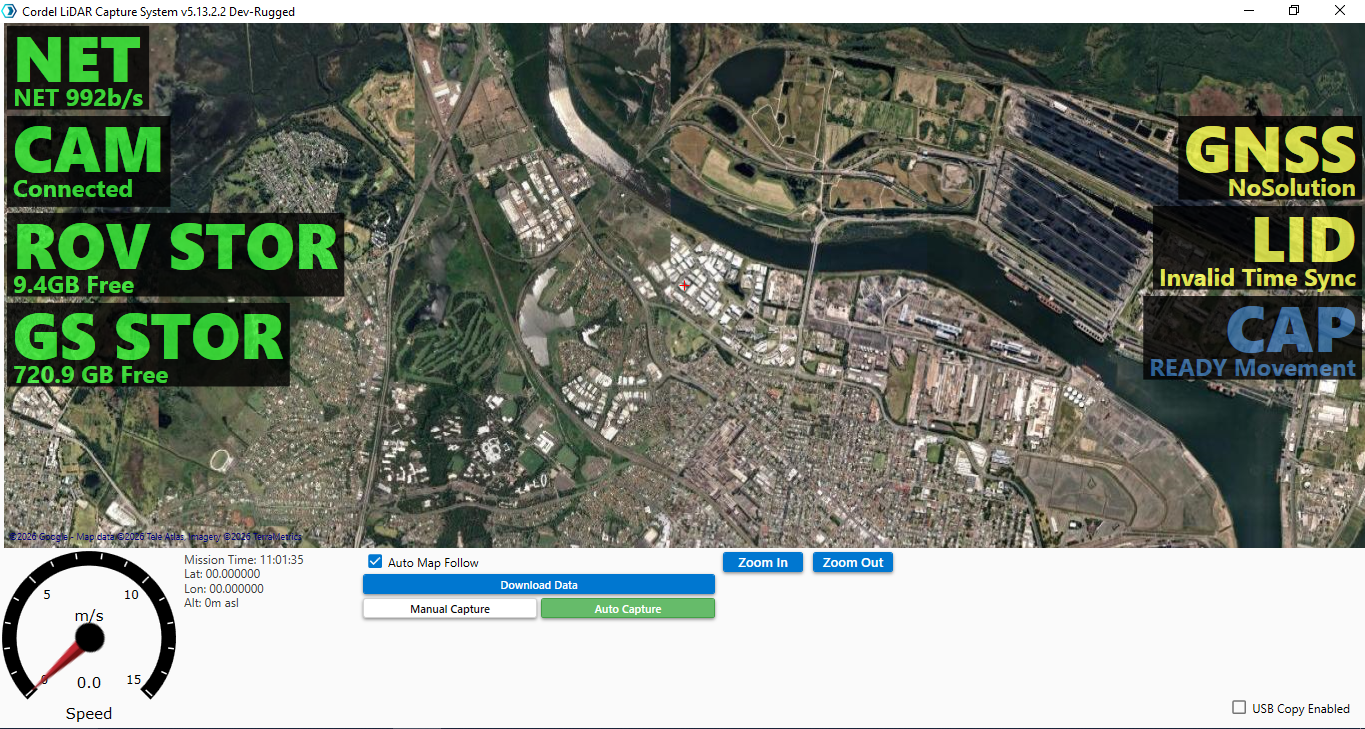
If Ground Station is connected to an active Cordel capture device, it will display health information each sensor, as shown below: