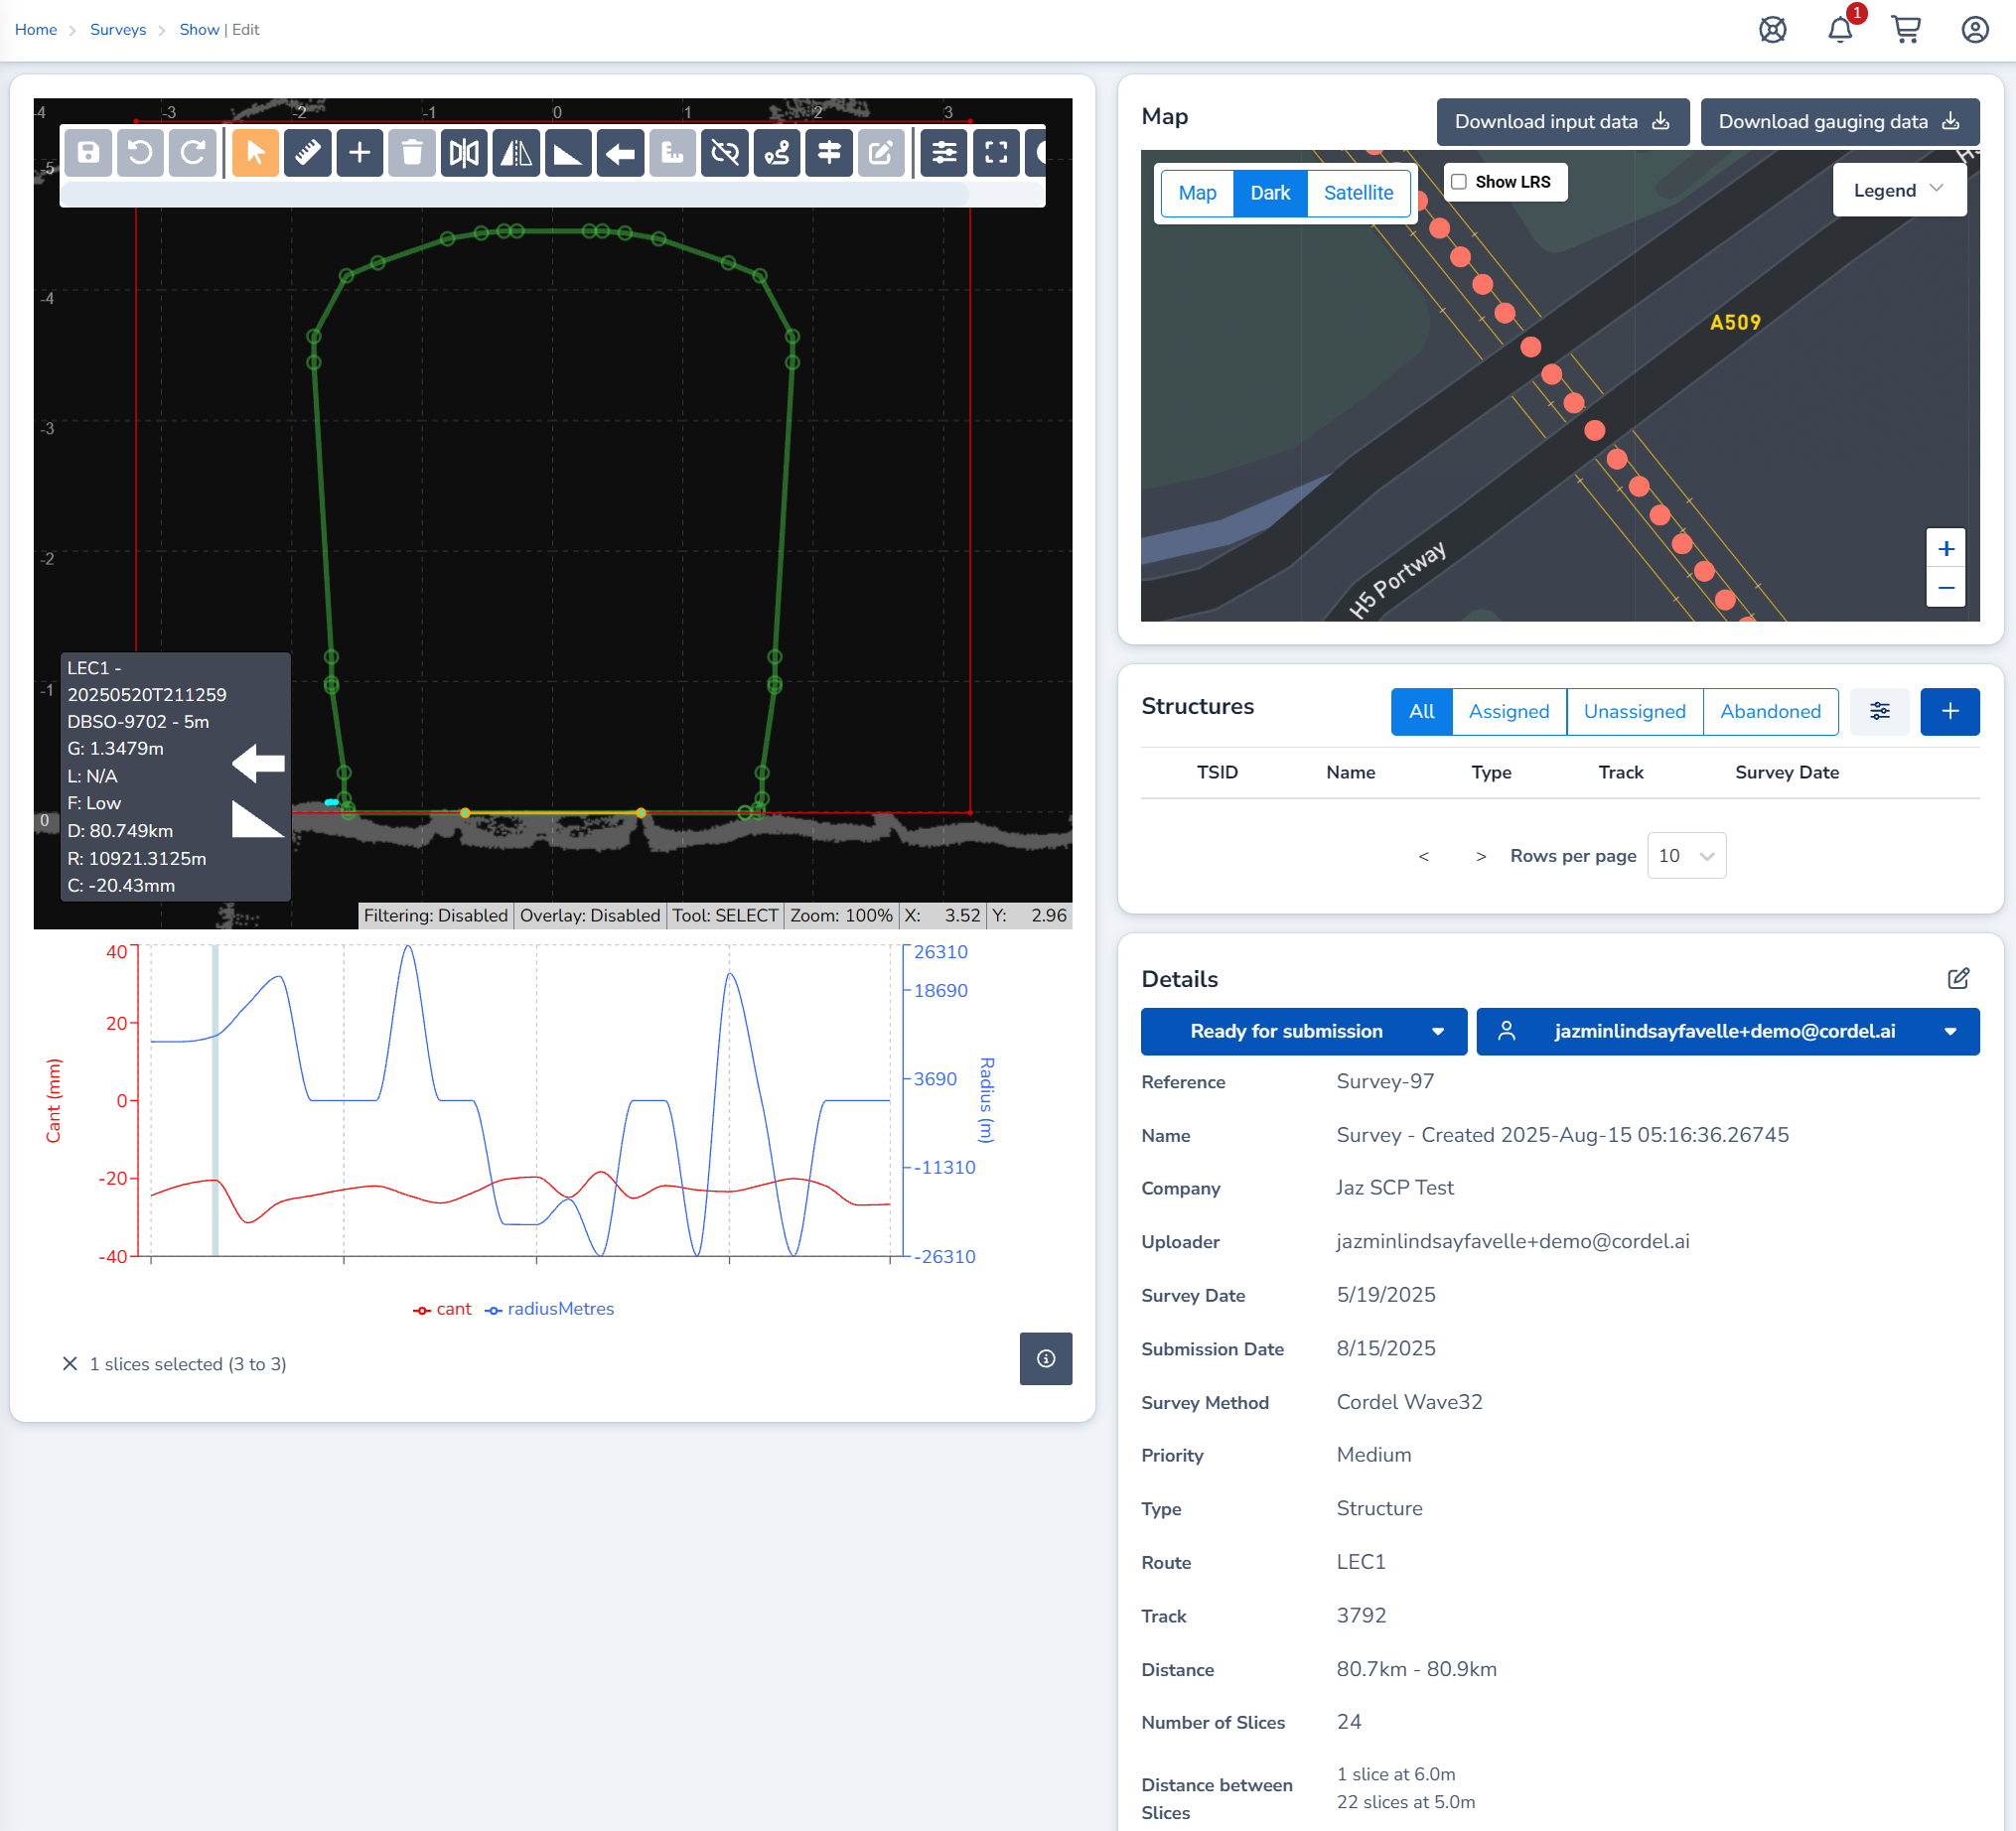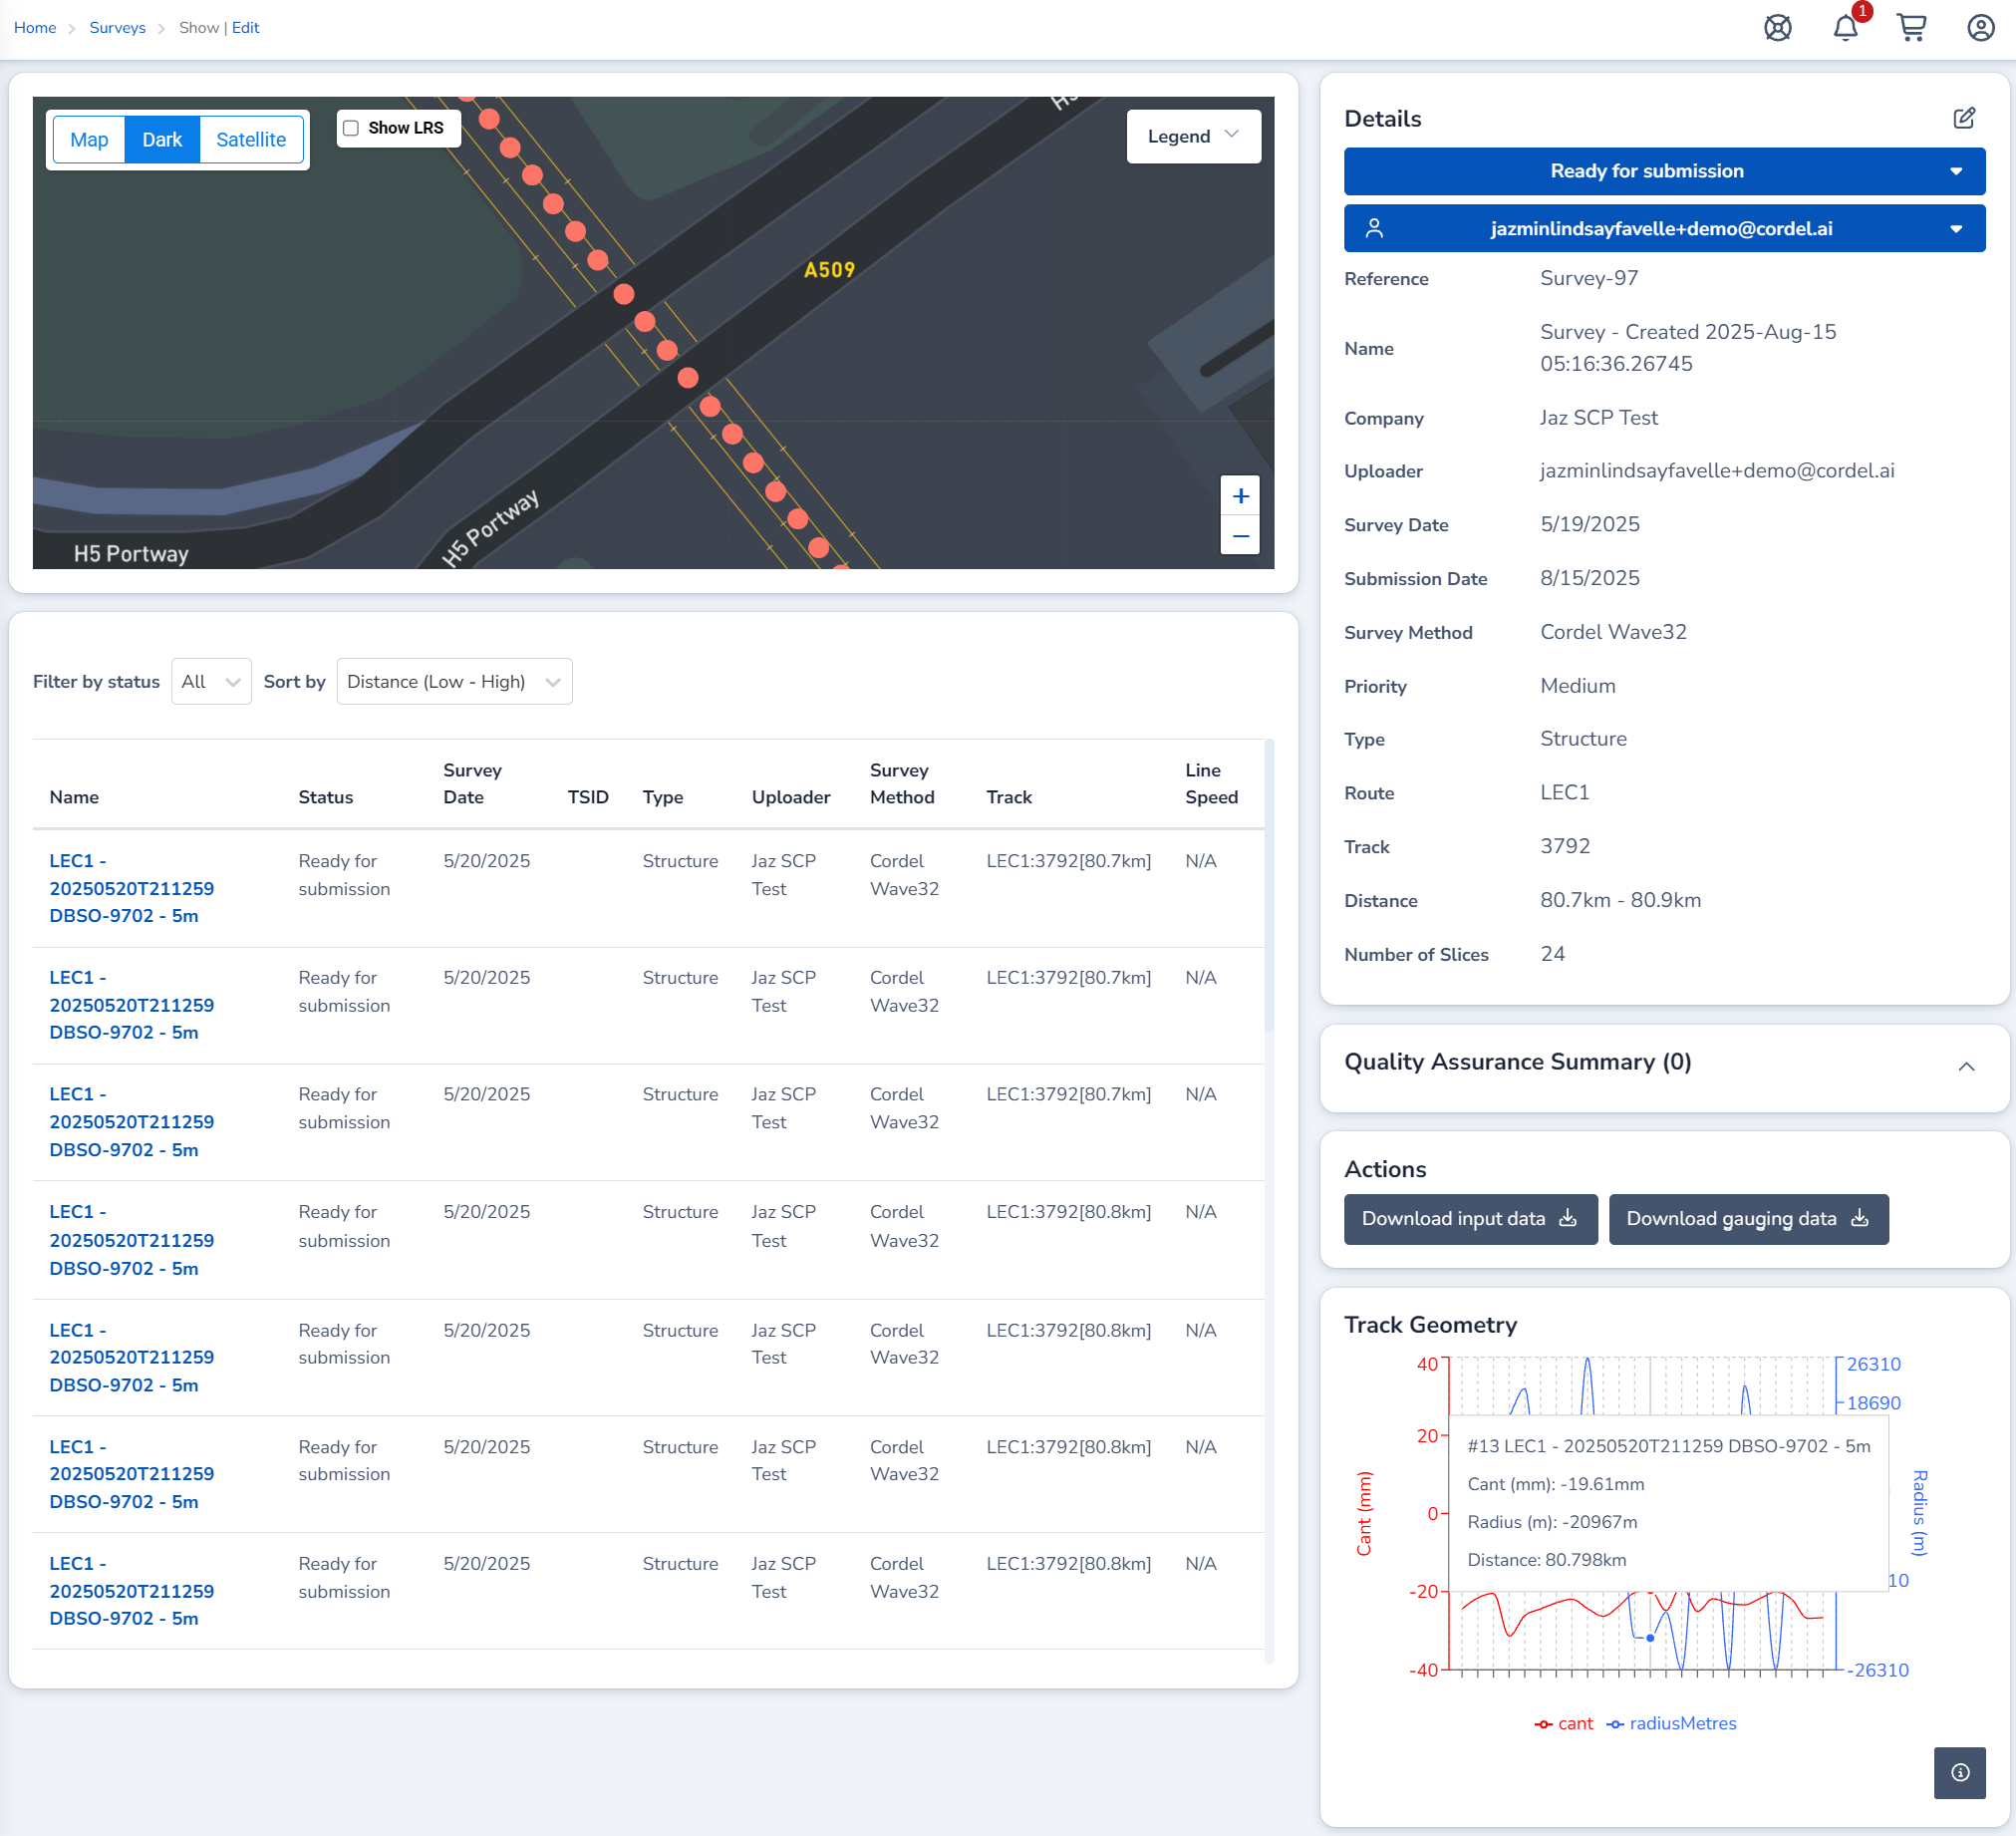

Note: Depending on the configuration of your Clearance Connect module, surveys may be created automatically.
How surveys are created?
Surveys enter Cordel Connect through one of four methods:
-
Direct upload from Cordel capture hardware
-
Upload via a REST API provided to third-party organisations
-
Data migration from customer-provided data (BYOD)
-
Manual upload through Cordel Connect
How to create a Survey manually
-
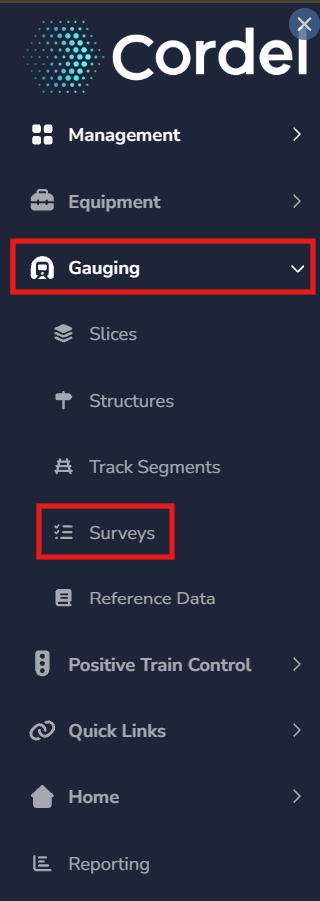
To open an exiting Survey, users need to first open the Survey Index page. Open the main menu in Cordel connect and navigate to Gauging> Surveys.
-
Click the 'Upload' icon

Use the Upload icon to upload a new survey to Cordel Connect
-
Follow the prompts in the dialog box shown to add the Survey file/s.
Users can drag and drop files into the blue file upload area, or click within the blue file upload area to launch the computers native file explorer.
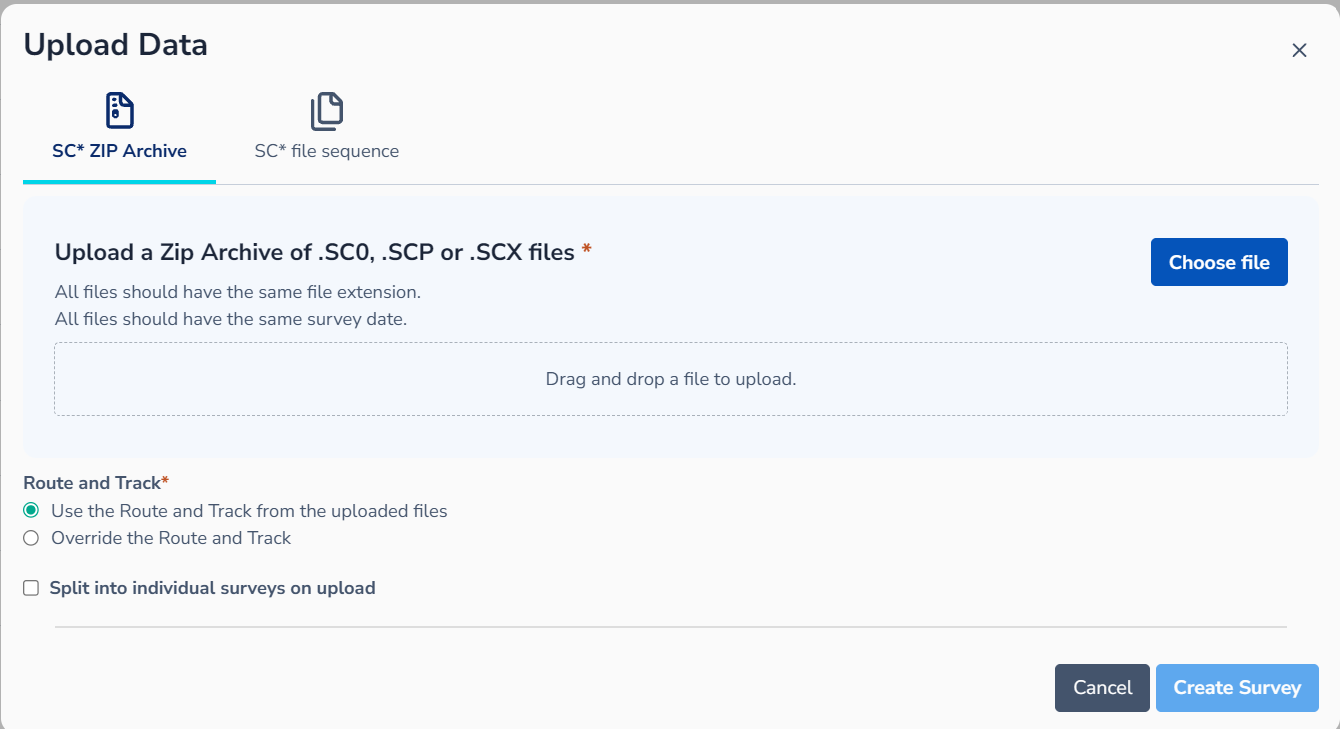
To create a survey, you can upload multiple files to form a single survey (excluding .ZIP).
When uploading multiple files, they must be the same file types to be within the same survey.
Note: Individually uploaded slices will be processed and added to the survey in order of their linear position.
Optionally, you can specify the ELR and Track Code, which will override the values found within the uploaded files.
-
Once the Survey files have been uploaded, click 'Create Survey'
-
Once the new Survey is created, users are redirected to either the View Survey page or Edit Survey page - depending on permissions.